Tropical Vinyl Plank Flooring: Bali Adhesive Systems Prep
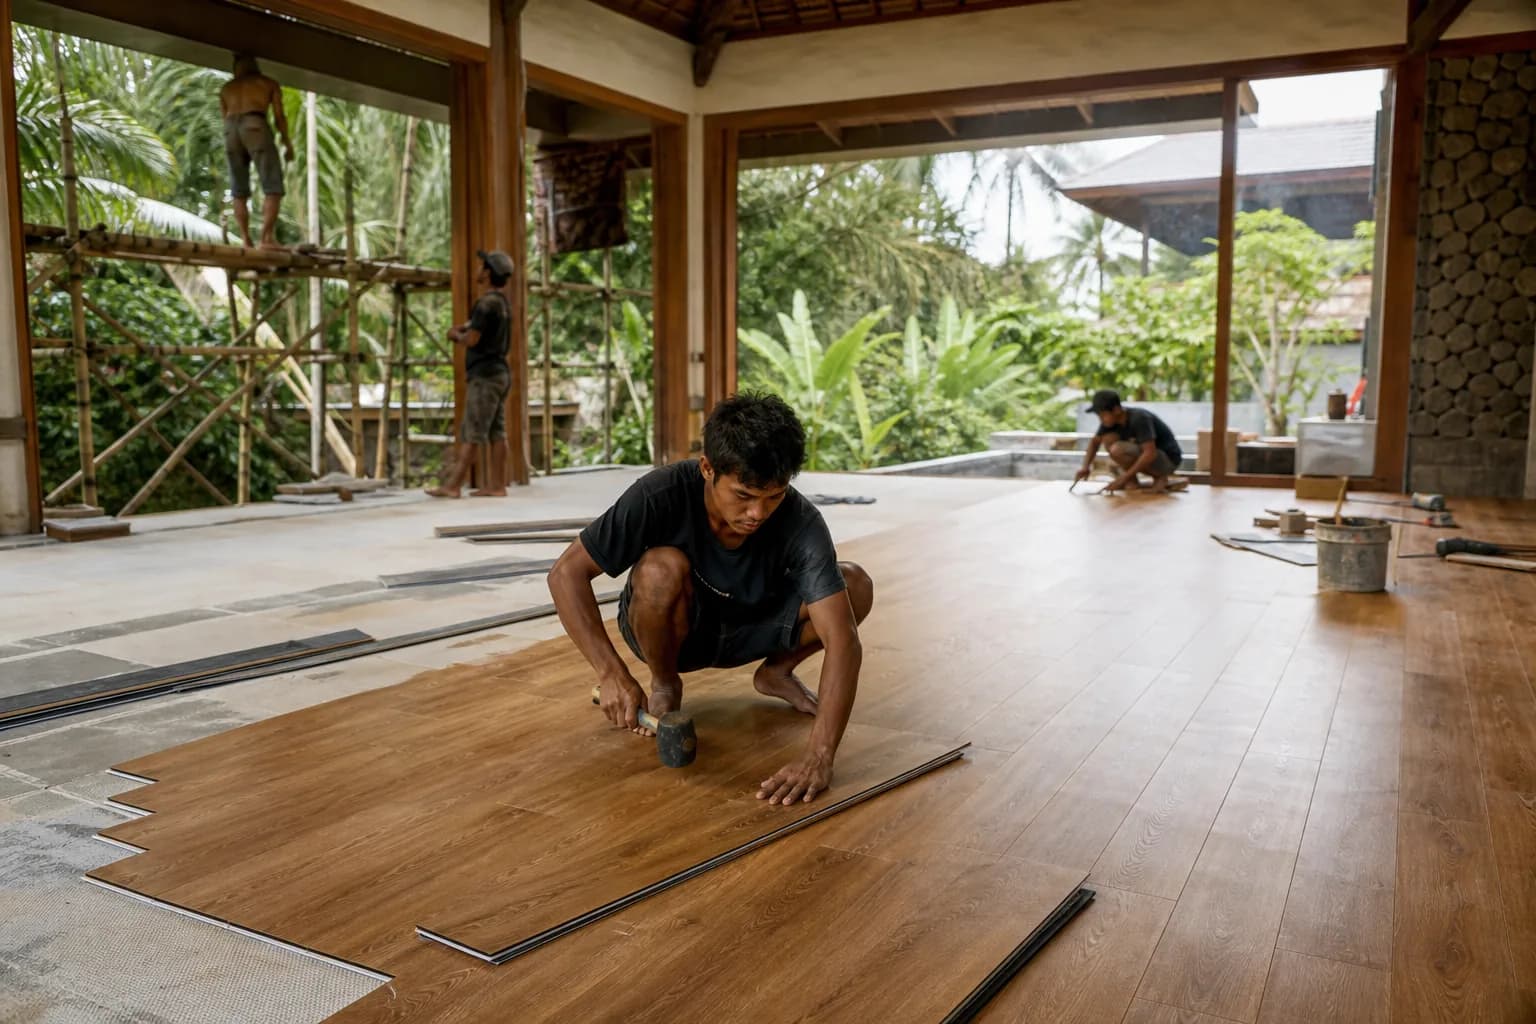
Tropical Vinyl Plank Flooring: Adhesive Systems & Prep in Bali
1) Specific Problem/Question
In Bali’s tropical climate—high humidity, heat spikes near glazing, and frequent wet cleaning—how do you install vinyl plank flooring so it stays flat, bonded, and beautiful over time? Should you choose a floating click-lock system or a glue-down adhesive system, and what exact subfloor preparation, moisture control, and expansion strategies are necessary for reliable finishing in a Bali villa construction or renovation? As a finishing works specialist, Teville outlines the precise, climate-ready approach for durable vinyl plank installations that integrate with furniture installation and villa utilities.
2) Technical Deep Dive: Adhesive Systems, Subfloor Prep, and Climate Controls
Vinyl plank in Bali succeeds or fails on the details: correct system selection, subfloor tolerance, moisture mitigation, acclimation, and disciplined installation sequencing. Broadly, there are two pathways:
- Floating click-lock (SPC/WPC): Planks mechanically lock together and “float” over a prepared substrate with an acoustic underlayment as required. This approach is fast and forgiving to future maintenance but demands precise flatness and expansion gaps. Heavy fixed cabinetry must not trap the floor.
- Glue-down LVT/LVP: Planks are adhered directly using pressure-sensitive (PS) or hard-set adhesive. This is preferred for high traffic areas, stairs, and spaces with frequent rolling loads or intense sun exposure, provided moisture and pH are within spec.
Climate and movement management. In Bali, daily humidity swings and solar gains near sliding doors can stress a floor. Floating systems require expansion gaps of 6–10 mm (approximately 1/4–3/8 inch) at all vertical interruptions—perimeter walls, columns, kitchen islands, and door frames—as outlined by leading manufacturers (e.g., the Cali Floors guidance for click-lock systems). In large areas, include additional movement joints per product direction. Glue-down systems experience less lateral movement but still need perimeter relief under skirting to avoid tenting.
Subfloor flatness tolerance. Target no more than 3 mm deviation under a 2 m straightedge (or 3/16 in over 10 ft). For floating click-lock, tighter is better because locking edges telegraph dips, creating deflection and joint stress. For glue-down, undulations reduce contact and cause hollow spots. Self-leveling underlayment or patch/feather skim is often essential over Bali’s cement screeds and tiled substrates.
Moisture control (concrete slabs/screeds). In tropical environments, moisture is the number one failure driver. Before any resilient flooring, verify moisture using industry-recognized tests (ASTM F2170 in-situ RH, ASTM F1869 MVER) and check alkalinity (pH). If RH/MVER exceed adhesive or product limits, deploy a compatible moisture mitigation system (e.g., two-part epoxy vapor barrier compliant with ASTM F3010) and respect required surface profiles and cure windows. On elevated slabs with insufficient damp-proof courses—common in older renovation Bali projects—this step is non-negotiable.
Acclimation and environmental conditioning. Store planks flat in the conditioned space for 24–48 hours, maintain room temperature within manufacturer range (typically 18–29°C) and stabilize RH as much as practical. In Bali’s wet season, run AC or dehumidifiers at least 24 hours pre-install, during install, and 48 hours post-install to reduce dimensional stress and ensure adhesive cure. Cali Floors and similar guides underline acclimation and environmental control to prevent edge peaking and gapping.
Adhesive selection. Match adhesive to plank construction and service conditions:
- Pressure-sensitive acrylic for LVT/LVP in standard interiors; provides working time and releasability for repairs.
- Hard-set acrylic where solar gain, rolling loads, or chair casters are frequent; greater shear strength.
- High-temp/UV-tolerant variants near large glass openings common in Bali villas (Uluwatu cliff fronts, Canggu beachfronts) to resist plasticizer migration and thermal softening.
Adhesives from brands like Mapei, Sika, and Bostik are available in Indonesia; confirm compatibility with your vinyl plank line and moisture barrier system. Observe trowel notch size per data sheet (e.g., 1/32 in x 1/16 in x 1/32 in for PS), open time, and rolling requirements (45–75 kg roller).
Underlayments and acoustics. In multi-level villas or apartments, specify an underlayment with proven IIC/STC ratings under floating systems to control impact noise, ensuring it’s approved for SPC/LVP and does not compromise joint integrity. Glue-down systems typically forgo cushioned layers, but a sound-control membrane may be used if the manufacturer approves the stack.
Transitions and details. Around wet zones (kitchen toe-kicks, laundry), install perimeter sealants or trims to block incidental moisture. Use stair nosings designed for vinyl. At doorways, align plank layout with transition profiles and maintain movement gaps under skirting rather than silicone-filled exposed perimeter joints for a cleaner finish.
Load management and furniture installation. For floating floors, do not install under fixed kitchen islands or built-ins; instead, cut tightly while honoring gaps and conceal with skirting/kickboards. For glue-down floors, coordinate cabinet leveling pads and avoid adhesive contamination. Place felt glides under furniture legs and use chair mats for casters. Schedule furniture installation only after full adhesive cure and floor protection measures are in place.
Teville integrates these controls within interior finishing Bali projects, sequencing works to protect the finished surface and coordinating with utilities and services to avoid late slab penetrations that would compromise the moisture barrier.
3) Materials & Standards for Bali Conditions
Vinyl plank types. Choose between:
- SPC click-lock (stone polymer core): dimensionally stable, dense, excellent for floating over well-flattened substrates; handles tropical temperature swings better than WPC.
- LVT/LVP glue-down: thinner profile, excellent point-load performance; ideal for sun-exposed and high-traffic zones, stairs, and commercial-style areas within villas.
Adhesives. Use acrylic PS or hard-set adhesives labeled for LVT/LVP, with high-temperature resistance where glazing drives floor surface temps upward. Confirm plasticizer migration resistance. In wet or sun-heavy edges, consider hard-set to reduce creep.
Moisture mitigation. For concrete with high RH/MVER, specify a two-part epoxy vapor barrier meeting ASTM F3010. Over it, use compatible primers/patches under self-levelers. Where damp-proof courses are absent, treat the entire slab level, not just “wet spots.”
Subfloor preparation products.
- Primer for absorbent and non-absorbent substrates (e.g., tiles).
- Self-leveling underlayment for bulk correction; feather finish for joints/edges.
- Crack repair resin and joint fillers; honor structural movement joints with surface profiles.
Skirting and trims. Moisture-resistant MDF, UPVC, or aluminum skirting; color-matched reducers and end caps. Avoid trapping the floating field with continuous adhesive along skirting—fasten to the wall, not the floor.
Standards and references.
- ASTM F710: Standard practice for preparing concrete to receive resilient flooring.
- ASTM F2170/F1869: Moisture testing protocols; ASTM F3010: vapor barrier performance.
- Manufacturer installation guides (e.g., click-lock expansion gap practices as illustrated in Cali Floors documents and angle-angle install guides).
Bali-specific considerations. Coastal salt air and jungle humidity push you toward SPC or glue-down LVT with robust adhesives. Large glass sliders (Seminyak, Canggu) create hot zones—specify UV films, blinds, or high-temp adhesives. In Ubud and Tabanan, prioritize moisture barriers and dehumidification. For renovation Bali projects on tile, utilize proper degreasing, mechanical abrasion, and grout-line leveling to avoid telegraphing.
Teville curates materials that are proven locally and integrates them into our portfolio standards for finishing quality, durability, and serviceability.
4) Step-by-Step Process (Teville Method)
Preconstruction & Survey
- Assess substrates: Identify slab composition, age, presence of damp-proof membranes, flatness, and existing finishes. Locate utilities (conduits, plumbing) to protect during prep.
- Moisture & pH testing: Perform F2170 RH probes or F1869 MVER and pH. Document results and select mitigation if limits are exceeded for your adhesive/product.
- Design coordination: Confirm flooring layout, transition locations, stair details, skirting heights, door undercuts, and furniture installation sequence to avoid pinning a floating floor.
Subfloor Preparation
- Demolition & cleaning: Remove weak toppings, contaminants, old adhesives not compatible with new systems. HEPA vacuum dust.
- Mitigation (if required): Apply epoxy vapor barrier per data sheet (temperature, substrate moisture, profile). Respect cure; never puncture later with fasteners.
- Prime & level: Prime substrate; pour self-leveler to achieve ≤3 mm deviation across 2 m. Feather finish transitions and tile grout joints in renovation contexts.
- Flatness verification: Recheck with a 2 m straightedge; correct local highs/lows before proceeding.
Acclimation & Site Conditioning
- Store vinyl planks flat in the install room 24–48 hours.
- Stabilize space: run AC/dehumidifiers to control RH; protect from direct rain entry and excessive heat prior to glazing/door completion.
Installation: Floating Click-Lock (SPC)
- Underlayment: Lay approved acoustic underlayment if needed; tape joints per manufacturer.
- Perimeter gaps: Set 6–10 mm spacers at walls, columns, and built-ins; larger bays may need intermediate joints per product guidance.
- Layout: Snap control lines. Balance plank widths at opposing walls. Stagger end joints (150–300 mm typical) and avoid short “slivers.”
- Click-lock technique: Insert angle-angle or drop-lock as specified by the plank system; use tapping block and pull bar to seat joints without bruising locking ribs.
- Penetrations: Enlarge cuts to maintain movement clearance at pipes and posts; cover with escutcheons or trims.
- Finishing: Install skirting to the wall, not the floor. Fit reducers and T-molds at thresholds. Remove spacers after trims are fixed.
Installation: Glue-Down LVT/LVP
- Adhesive spread: Select PS or hard-set adhesive; use specified trowel notch. Observe open time until the adhesive reaches the appropriate tack.
- Set and roll: Place planks into tacky adhesive, maintaining layout and staggering rules. Roll both directions with 45–75 kg roller to eliminate air and ensure transfer.
- Seams & edges: Weight edges temporarily if needed. Clean adhesive residue immediately with approved cleaner.
- Cure protection: Restrict traffic 24 hours; delay heavy furniture and rolling loads 48–72 hours or as specified.
Integration with Furniture and Utilities
- Sequencing: Complete wet trades, glazing, and ceiling MEP first. For floating floors, install fixed cabinetry after flooring but with isolation gaps; never screw through floating fields. For glue-down, respect adhesive cure before placing cabinets.
- Utilities: Verify no further slab cutting will occur (drain relocations, electrical conduits). Protect floors during final MEP/lighting and furniture installation.
Quality Control & Handover
- Document moisture, pH, flatness, and adhesive lot numbers.
- Inspect joints, transitions, skirting straightness, and door clearances.
- Provide maintenance guidance: neutral pH cleaners, no steam mops, felt pads, UV shading in sun belts.
5) Costs & Timeline (Indicative, Bali)
Actual budgets depend on site conditions, product grade, and scope complexity. The ranges below are typical for Bali villa construction and renovation Bali projects:
 1from 198.000 USD
Private: Haridas Villas
 164 m²7 month(s)from 79.000 USD
TALA TWO

Want to calculate?
 3173 m²6 month(s)from 125.000 USD
TALA FOUR
 3104 m²11 month(s)from 99.000 USD
TALA 100
 4344 m²16 month(s)from 290.000 USD
Radha
 3124 m²6 month(s)from 123.000 USD
TALA 8
 3180 m²7 month(s)from 142.000 USD
Vasudeva
 172 m²8 month(s)from 120.000 USD
Keshava
 2144 m²11 month(s)from 104.000 USD
Narayana
164 m²7 month(s)from 79.000 USDPrivate: Haridas Villas, Tegallalang
 3127 m²9 month(s)from 177.000 USD
Mukunda
Start With Real Numbers, Not Guesses
Before finalizing your finishing works plan, check realistic cost ranges for your Bali villa project.
Available lands
 2680 m²10 min$ 1732759Bali, Pererenan
 2700 m²30 min$ 314224Bali, Sidemen
 2800 m²2 min$ 713793Bali, Kedungu
 1100 m²8 min$ 280419Bali, Ungasan
 6000 m²30 min$ 55419Bali, Tabanan
 8313 m²15 min$ 716670Bali, Buduk
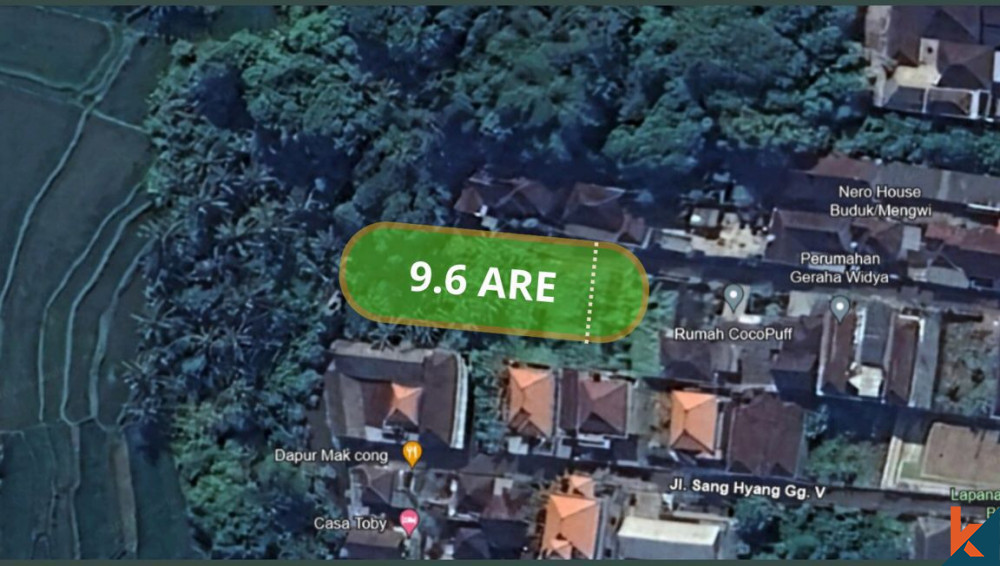 960 m²15 min$ 91034Bali, Mengwi
 422 m²15 min$ 93547Bali, Kerobokan
 200 m²11 min$ 89286Bali, Tabanan
 1300 m²10 min$ 348214Bali, Tabanan
 1000 m²5 min$ 350431Bali, Drupadi
 1430 m²5 min$ 209862Bali, Klungkung
 1158 m²12 min$ 291996Bali, Mengwi
 1600 m²32 min$ 266010Bali, Tabanan
 200 m²5 min$ 59113Bali, Bukit
Essential Bali build & buy guides
- Bali villa construction cost per m² in 2026
- How much will your villa cost? Calculator
- Building a villa in Bali: the complete guide
- Buying land in Bali: step-by-step for foreigners
- Bali villa investment: yields, risks, returns
- Leasehold vs freehold: what foreigners can own
- Construction defect liability & 10-year warranty
- Bali building codes and construction standards
Related guides
Resin-Infused Plaster Finishes: Anti-Salt Systems Bali
Expert technical guide: Resin-Infused Plaster Finishes: Anti-Salt Systems Bali
8 min read
Prefinished Timber Joinery: Silicone Seals Fixings Bali
Professional prefinished timber joinery installation in Bali with silicone seals and fixings for durable weatherproof performance and a premium finish.
10 min read
Polished Concrete Microtopping: Surface Prep Sealants Bali
Discover Bali s polished concrete microtopping: expert surface prep, durable sealants, and a flawless finish for modern floors with minimal maintenance.
9 min read