Cementitious Waterproof Membrane for Wet-Tile Finishes Bali
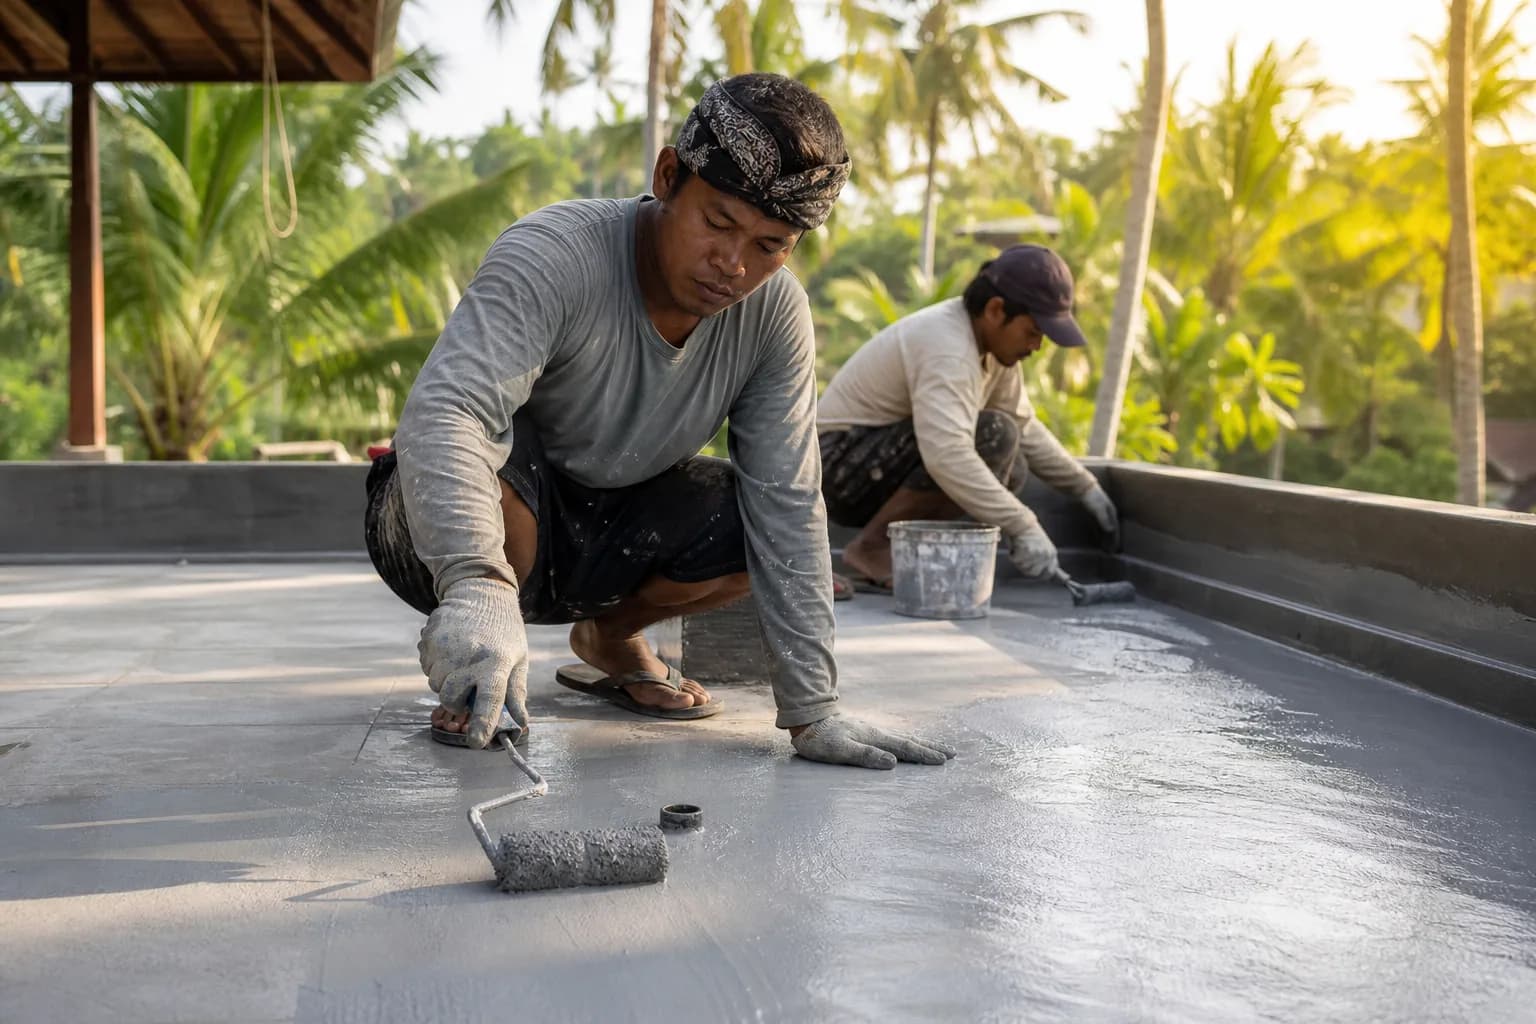
Cementitious Waterproof Membrane for Wet-Tile Finishes in Bali: A Practical Guide for High-Quality Finishing
Leaking showers, damp bathroom walls, musty wardrobes adjacent to wet zones—these are the most common renovation triggers we see in Bali villas. The specific question we solve here: when finishing or refurbishing wet-tile areas (showers, bathrooms, kitchens, laundry, pool bathrooms), is a cementitious waterproof membrane the right choice, and how should it be installed for Bali’s tropical climate? This Bali area guide explains the technical approach Teville uses to deliver long-lasting, tile-ready waterproofing specifically for interior wet zones and service rooms.
Technical Deep Dive: How Cementitious Waterproofing Works Under Tile in Bali
A cementitious waterproof membrane is a polymer-modified, cement-based coating designed to create a continuous, water-resistant barrier beneath tile finishes. It bonds to mineral substrates (render, screed, concrete, cement board) and provides a tile-adhesive-friendly surface. In practice, it is the most practical specification for interior wet zones in Bali villas—bathrooms, showers, kitchen splashes, laundry—where substrate movement is moderate and direct water exposure is frequent but contained.
Why it suits Bali wet rooms:
- Compatibility with tile systems: Cementitious membranes accept thin-set adhesives and grouts without compatibility issues common to some bituminous or PVC systems.
- Vapor tolerance: In high humidity, cementitious membranes allow limited moisture vapor transmission, helping reduce blister risk on mineral substrates.
- Constructability: Trowel/roller application in confined spaces, robust bond to cementitious screeds and renders, and ease of detailing around floor wastes and pipe penetrations.
Performance realities:
- Service life: Typical 5–10 years depending on product class, substrate preparation, thickness, and care; this figure aligns with published guidance for cement-based waterproofing longevity (Ultratech). In our Bali experience, correct detailing and maintenance push performance to the top of that range.
- Flexibility limits: Cementitious membranes are less elastic than sheet or certain liquid elastomeric membranes. They handle hairline cracks but need reinforcement at movement points. For roofs, planter boxes, or water tanks, alternative membranes are typically superior (alrayaninsulation). For internal wet-tile finishes, cementitious remains a trusted standard.
- Thickness is critical: Under-build is the most common failure. Achieving specified dry film thickness (DFT) and reinforcing corners/penetrations prevents pinholes and corner wicking.
Bali-specific considerations:
- Humidity and temperature: Application must avoid direct sun and rapid drying breezes. High heat accelerates set; high humidity slows cure. Controlled curing achieves film integrity.
- Water quality: Mineral-rich water can leave efflorescence. We use clean water for mixing and curing; we ensure screeds are fully cured and dried to minimize salts.
- Movement and settling: Villas near the coast experience thermal cycling and occasional micro-movement. We specify polymer-modified, flexible cementitious membranes with fabric reinforcement at all stress points to manage hairline cracking.
Wet-room interfaces with renovation and utilities:
- Utilities: All plumbing rough-ins and electrical conduits must be complete and pressure-tested before waterproofing. Bonding flanges at drains and collars at pipe penetrations are mandatory.
- Furniture installation: For wall-hung vanities, mirrors, and shower screens, we plan fixing points before membrane application. If drilling post-tile is unavoidable, we use pre-sleeved holes or inject sealant/epoxy to preserve the waterproof layer.
- Finishing quality: Tile layouts, expansion joints, and sealant chemistry are coordinated with the membrane to maintain continuity—a key Teville discipline in finishing works.
Result: a monolithic, reinforced, tile-bondable barrier that protects substrates from water ingress, prevents damp transfer to adjacent rooms, and supports premium interior finishing Bali standards.
Materials & Standards for Bali Wet-Tile Areas
We specify materials that are proven under ceramic and stone tiling systems and align with recognized standards for wet-area waterproofing.
Core system components
- Flexible, polymer-modified cementitious membrane: Two-part (liquid polymer + cementitious powder) preferred for tensile adhesion and crack-bridging. Target Class per EN 14891 for liquid-applied membranes under tiles.
- Reinforcement fabric/band: Alkali-resistant polyester or fiberglass bands for corners, coves, movement joints, and around penetrations and drains.
- Primers: Acrylic or epoxy primers on porous or highly absorbent substrates; specialized primers for dense concrete where required.
- Tile adhesive: C2S1 or better per ISO 13007 (or ANSI A118.4/A118.15); deformable adhesives mitigate stress on the membrane.
- Grout: High-performance cementitious grout (CG2WA per ISO 13007 or ANSI A118.7). Epoxy grout for heavy-use showers or feature walls with frequent splash.
- Sealants: Neutral-cure, mold-resistant silicone at all change-of-plane joints; polyurethane only where compatible and UV-protected.
- Drainage elements: Bonding flange floor drains with integrated puddle flanges and visible weep holes.
Applicable standards and good practice
- EN 14891: Liquid-applied waterproofing under ceramic tiling—our reference for adhesion, crack-bridging, and thickness control.
- ANSI A118.10: Load-bearing, bondable waterproof membranes for thin-set tile applications—useful performance benchmark.
- Tile and adhesive standards: ISO 13007 for adhesives/grouts classification (C2, S1/S2). Using deformable adhesives protects the membrane.
- In-house QA: Pull-off adhesion checks on screed/render, wet film gauge thickness checks, and 24–48 hour flood testing before tiling.
Note: While other membranes (bituminous, PVC, liquid elastomers) are excellent for roofs, terraces, and tanks, our scope here targets internal wet rooms with tile finishes where cementitious membranes combine performance and constructability.
Step-by-Step Process We Use at Teville
1) Preconstruction coordination
- Confirm room layouts, drain positions, threshold heights, and tile build-up. Shower area gets a recessed slab or 20–30 mm step-down to contain water.
- Finalize rough-in for villa utilities (hot/cold lines, mixers, spouts, showerheads, floor wastes) and pressure test lines.
- Fixing points for furniture installation (wall-hung vanities, mirror cabinets, glass screens) identified and marked; sleeves or backing blocks installed.
2) Substrate preparation
- Screeds and renders: Polymer-modified sand-cement, typical 1:3 ratio, well compacted, with falls 1.5–2% to drains. Cure min 7 days for thin sections; verify moisture content (≤5% or per product data).
- Surface condition: Sound, flat, free of laitance, dust, oils. Achieve pull-off strength ≥0.8–1.0 MPa. Grind high spots; fill voids; round internal corners to 10–15 mm coves.
- Priming: Apply compatible primer to regulate absorption and improve bond.
3) Detailing and reinforcement
- Install reinforcement band in all corners, floor-to-wall junctions, and movement joints, embedded into the first wet coat.
- Fit pre-formed collars at pipe penetrations; sealant ring beneath the collar, then embed with membrane.
- Set bonding-flange drains flush with substrate; wrap with banding; keep weep holes clear.
4) Membrane application
- Mixing: Two-part products: slowly add powder to polymer liquid. Typical ratio 1:2.5–3 (liquid:pdr by weight) per datasheet. Mix to a lump-free, brushable slurry; rest 2–3 minutes; remix.
- Coat 1: Apply by roller/brush/trowel at approx. 0.8–1.0 kg/m² (wet), targeting 0.6–0.8 mm DFT. Key into substrate and fully embed reinforcement.
- Coat 2: After tack-free (typically 2–6 hours, climate dependent), apply perpendicular to first. Total dry film thickness target 1.2–2.0 mm depending on product and exposure.
- Edge control: Extend membrane at least 200–300 mm up walls in general wet rooms; 1800–2100 mm in showers (to showerhead height) and fully across shower floor.
5) Curing and testing
- Protect from foot traffic, rain, and direct sun. Light misting may be used per datasheet to prevent flash-drying in hot weather.
- After full cure (typically 24–48 hours), conduct a 24-hour flood test to drain threshold. Mark any damp spots below/adjacent and rectify before tiling.
6) Tile installation over membrane
- Use deformable adhesive (C2S1 or better). Trowel appropriate notch; back-butter large-format tiles.
- Honor movement joints: perimeter and changes of plane are left free and later sealed with silicone; movement joints at 3–4 m intervals in large rooms or per tile supplier.
- Grout with CG2WA cementitious or epoxy where chemical/steam resistance is needed. Clean gently to avoid membrane edge exposure.
7) Fixtures, furniture, and sealing
- Install plumbing trim kits using gaskets and silicone collars; do not over-tighten through-tile fittings.
- Mount vanities and mirrors on pre-planned fixings. If drilling, use low-impact rotary mode, isolate holes with epoxy or neutral-cure silicone before anchor insertion.
- Apply sanitary silicone at all internal corners, at tile-to-tray/threshold, and around penetrations; tool to a smooth fillet.
8) Quality checks and handover
- Visual inspection for continuity, joint sealing, and drain weep-hole clearance.
- Water spray test on walls and shower floors to confirm correct falls and no ponding.
- Maintenance briefing: clean with pH-neutral detergents, re-seal silicones every 2–3 years.
Costs & Timeline in Bali
Budgets vary by villa size, tile selection, and access. Typical ranges we see in Bali villa construction and renovation Bali projects:
- Waterproofing (materials + labor): IDR 180,000–350,000 per m² for a two-coat, reinforced cementitious system with corners, collars, and drains properly detailed.
- Substrate works (falls, screeds/renders): IDR 150,000–300,000 per m² depending on thickness and polymer modification.
- Tiling over membrane: IDR 250,000–600,000 per m² depending on tile format, stone vs ceramic/porcelain, and layout complexity.
- Ancillaries: Drains, reinforcement bands, primers, sealants: IDR 150,000–500,000 per wet room.
Typical timeline for one standard bathroom (assuming screed/render ready):
- Day 1: Prep, priming, detailing, first coat.
- Day 2: Second coat; protection and initial cure.
- Day 3: Flood test (24 hours).
- Day 4–6: Tile installation and grouting.
- Day 7: Fixtures, furniture installation, and silicone sealing.
Add time for substrate curing, larger areas, custom stone, or complex utilities. For multi-bathroom villas, works are batched to compress overall schedule while allowing proper curing.
For project-specific costing and scheduling, see our process and request details: How We Build, Cost Estimation, and Portfolio.
FAQ: Cementitious Waterproofing for Wet-Tile Finishes in Bali
Is cementitious waterproofing enough for showers in Bali’s humidity?
Yes—when a flexible, polymer-modified product is used, with reinforcement at corners and penetrations, correct thickness, and proper curing. It is the preferred choice beneath tile in wet rooms. For roofs or fully submerged structures, other membranes are usually better suited.
How long does it last?
Typically 5–10 years (per Ultratech), strongly dependent on substrate prep, film thickness, tile system, and maintenance. Teville’s detailing practices aim to maximize

Want to calculate?
 3104 m²11 month(s)from 99.000 USD
TALA 100
 164 m²7 month(s)from 79.000 USD
TALA TWO
164 m²7 month(s)from 79.000 USDPrivate: Haridas Villas, Tegallalang
 3124 m²6 month(s)from 123.000 USD
TALA 8
 172 m²8 month(s)from 120.000 USD
Keshava
 1from 198.000 USD
Private: Haridas Villas
 3180 m²7 month(s)from 142.000 USD
Vasudeva
 4344 m²16 month(s)from 290.000 USD
Radha
 3127 m²9 month(s)from 177.000 USD
Mukunda
 3173 m²6 month(s)from 125.000 USD
TALA FOUR
 2144 m²11 month(s)from 104.000 USD
Narayana
Start With Real Numbers, Not Guesses
Before finalizing your finishing works plan, check realistic cost ranges for your Bali villa project.
Available lands
 7900 m²25 min$ 413485Bali, Tabanan
 2000 m²5 min$ 1440887Bali, Pecatu
 3000 m²15 min$ 738916Bali, Cepaka
 700 m²20 min$ 90517Bali, Cepaka
 2000 m²15 min$ 110837Bali, Karangasem
 770 m²5 min$ 163578Bali, Kedungu
 5815 m²5 min$ 815740Bali, Tabanan
 800 m²10 min$ 307882Bali, Tibubeneng
 2680 m²10 min$ 1732759Bali, Pererenan
 1000 m²5 min$ 350431Bali, Drupadi
 3900 m²10 min$ 432266Bali, Tabanan
 550 m²15 min$ 164594Bali, Mengwi
 420 m²15 min$ 41897Bali, Tabanan
 1300 m²10 min$ 348214Bali, Tabanan
 515 m²7 min$ 570813Bali, Canggu
Essential Bali build & buy guides
- Bali villa construction cost per m² in 2026
- How much will your villa cost? Calculator
- Building a villa in Bali: the complete guide
- Buying land in Bali: step-by-step for foreigners
- Bali villa investment: yields, risks, returns
- Leasehold vs freehold: what foreigners can own
- Construction defect liability & 10-year warranty
- Bali building codes and construction standards
Related guides
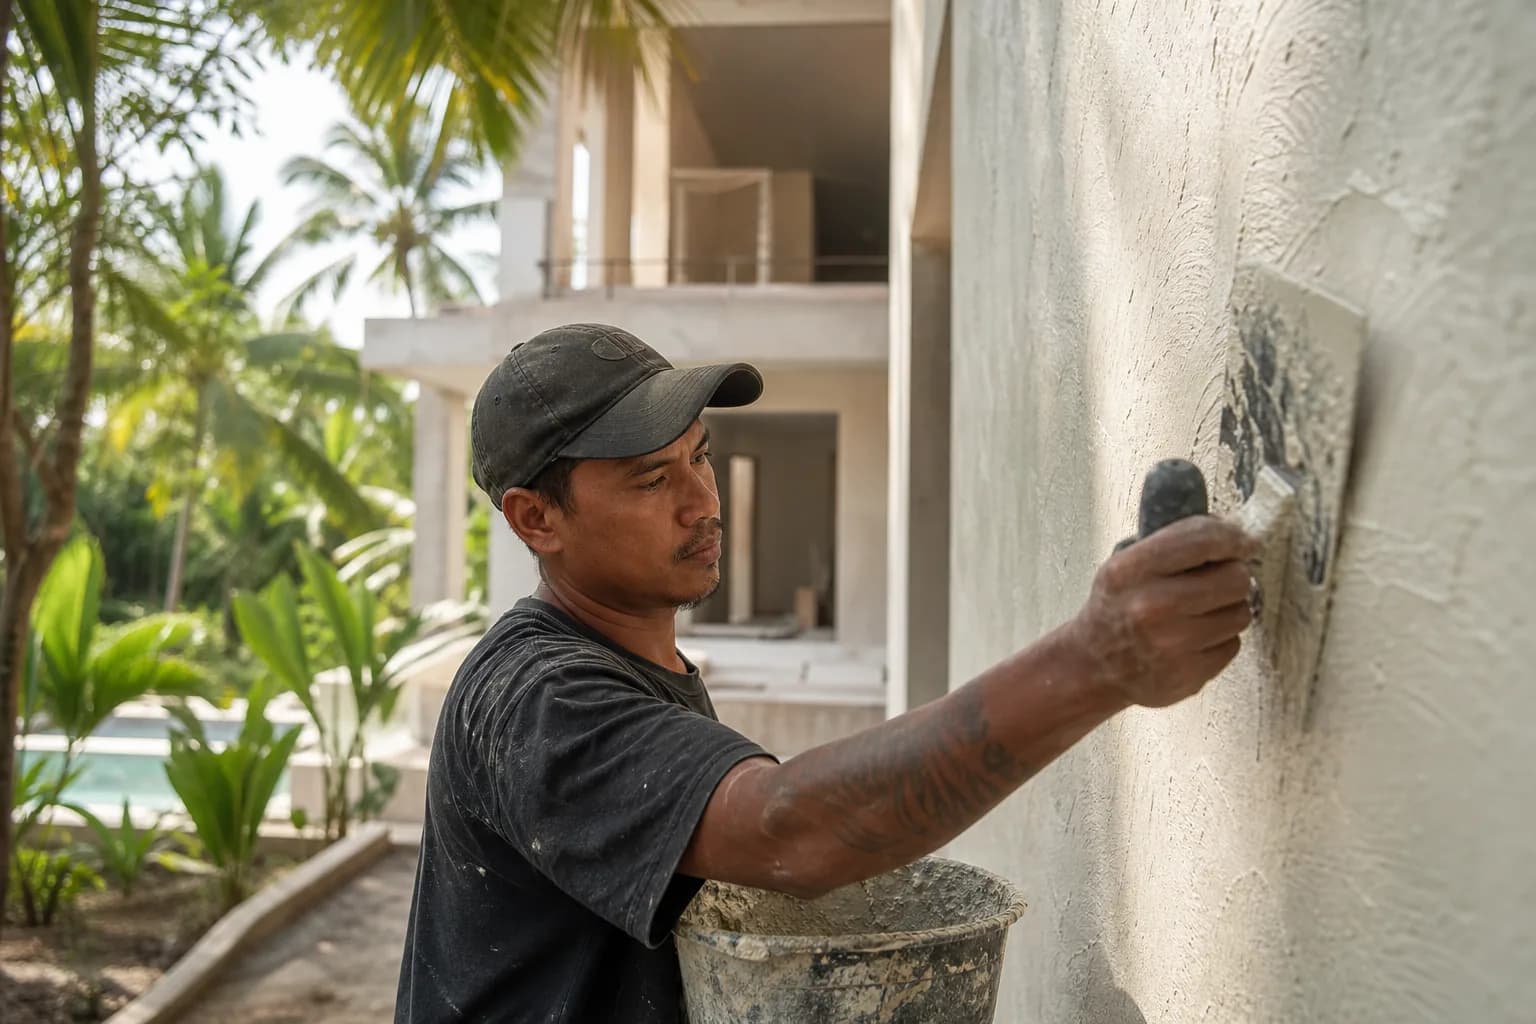
Resin-Infused Plaster Finishes: Anti-Salt Systems Bali
Expert technical guide: Resin-Infused Plaster Finishes: Anti-Salt Systems Bali
8 min read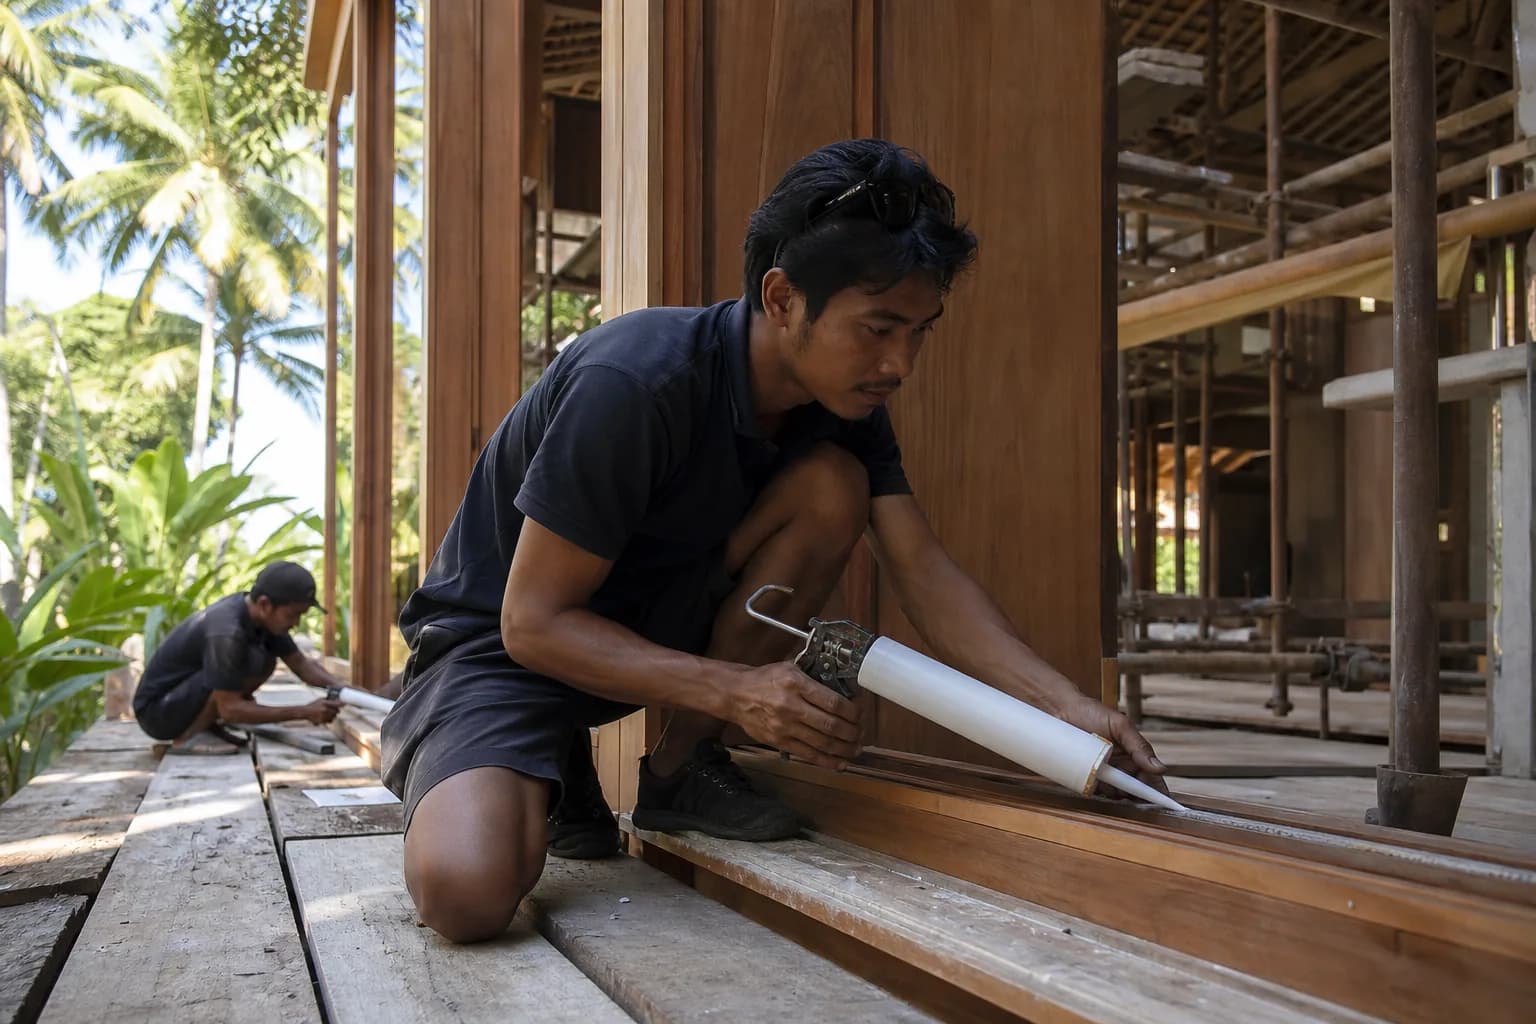
Prefinished Timber Joinery: Silicone Seals Fixings Bali
Professional prefinished timber joinery installation in Bali with silicone seals and fixings for durable weatherproof performance and a premium finish.
10 min read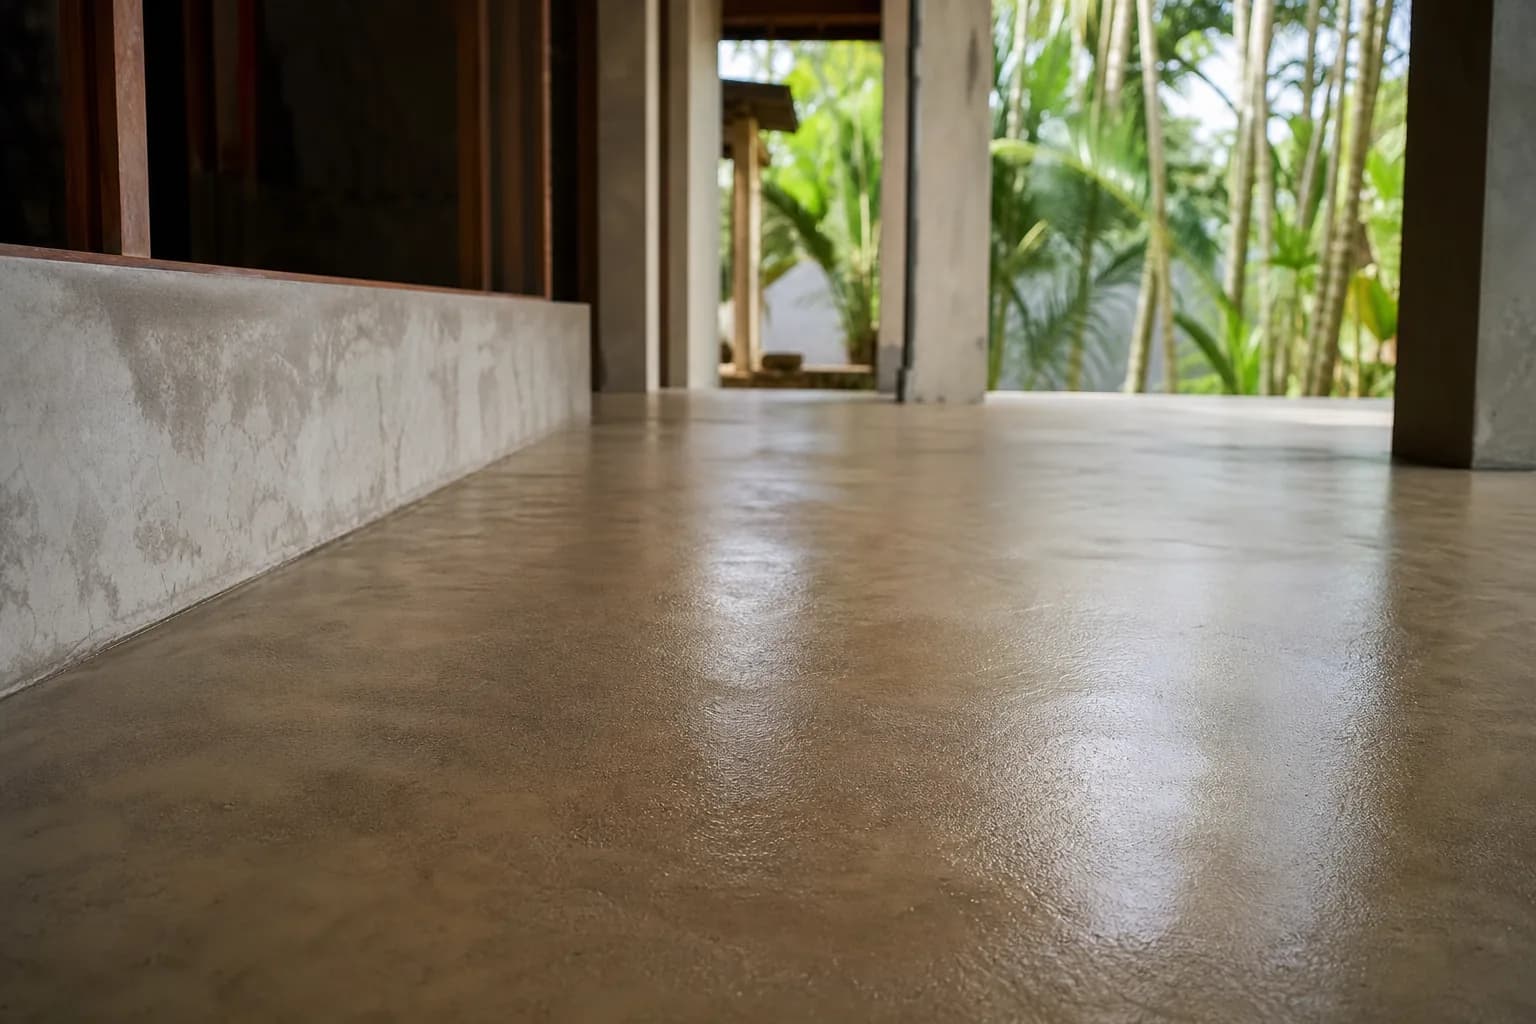
Polished Concrete Microtopping: Surface Prep Sealants Bali
Discover Bali s polished concrete microtopping: expert surface prep, durable sealants, and a flawless finish for modern floors with minimal maintenance.
9 min read