Teak Wood Door Frame Installation in Bali: Humidity Gaps
# Teak Wood Door Frame Installation: Humidity Expansion Gaps Bali
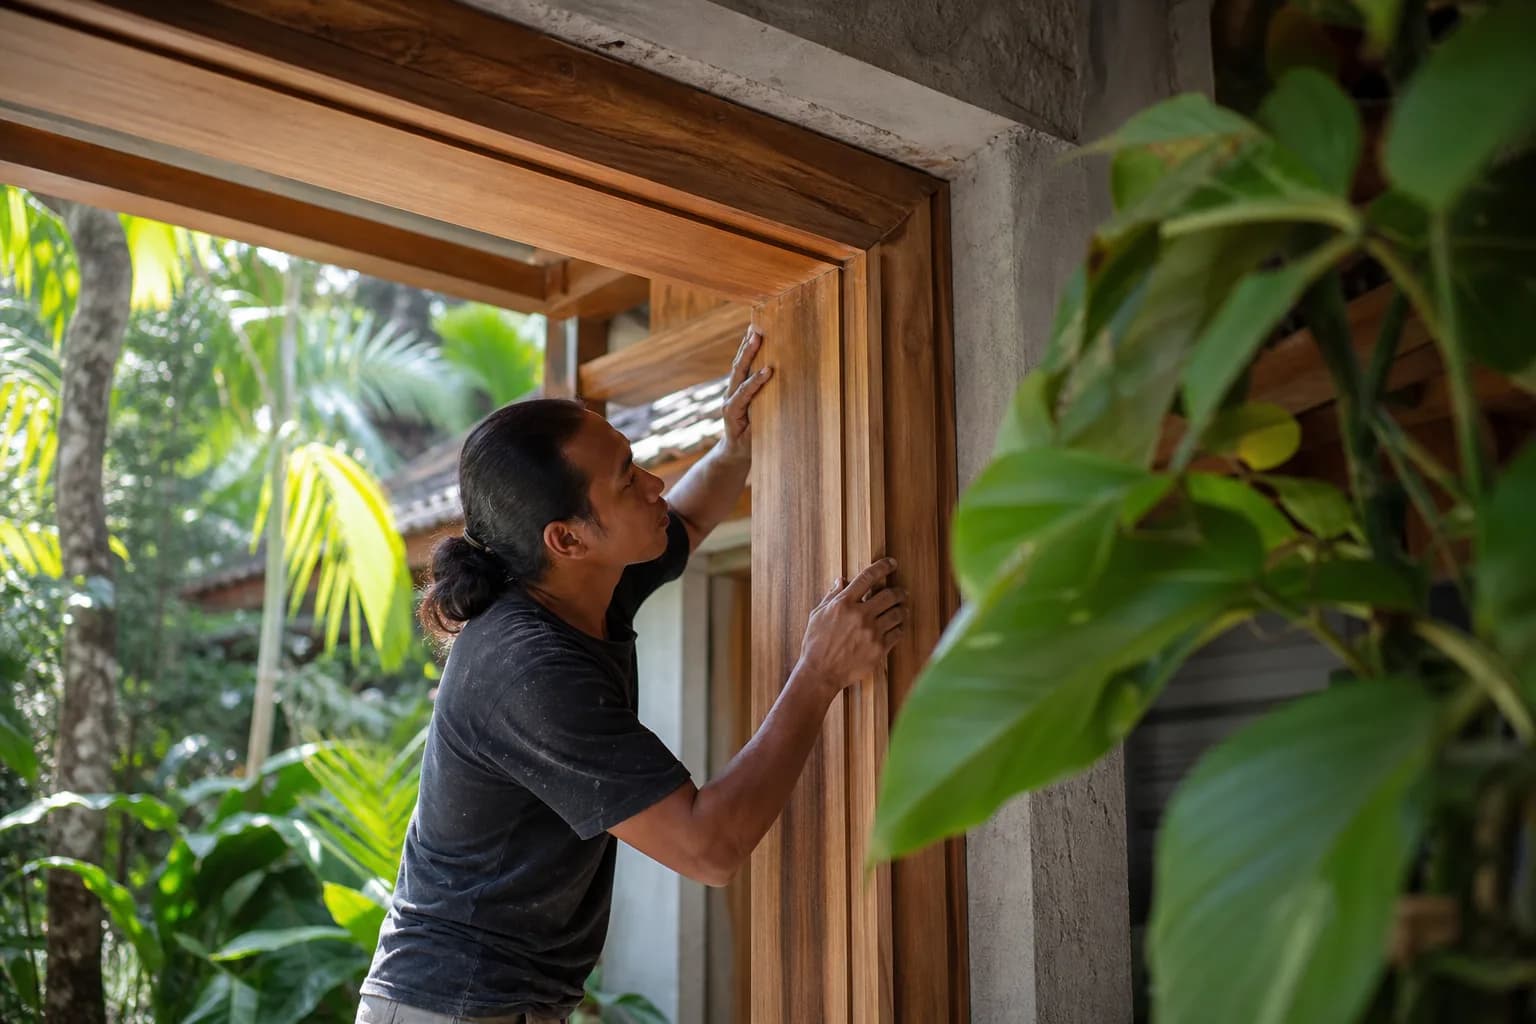
The Critical Challenge of Teak Door Frame Installation in Bali’s Tropical Climate
Installing teak wood door frames in Bali presents a unique technical challenge that separates amateur work from professional interior finishing Bali standards. The island’s humidity levels fluctuate dramatically between 70-95% throughout the year, causing natural wood to expand and contract continuously. Without properly calculated expansion gaps, even premium teak frames will warp, bind, crack, or separate from walls within months of installation. This isn’t merely an aesthetic concern—improperly installed door frames compromise structural integrity, security, and the overall quality of Bali villa construction projects. The question isn’t whether to leave expansion gaps, but precisely how much space to allocate based on frame dimensions, wood moisture content, installation location, and seasonal humidity patterns specific to your Bali property.
Understanding Wood Movement Physics in Bali’s Microclimate Zones
Teak wood’s cellular structure responds predictably to moisture absorption and release, but Bali’s diverse microclimates create varying installation requirements across the island. Coastal properties in Seminyak or Canggu experience constant high humidity with salt air exposure, while inland Ubud locations face dramatic day-night humidity swings. During the wet season (November-March), ambient humidity can reach 95%, causing teak to absorb moisture and expand across its width by 0.15-0.25% per percentage point of moisture content increase.
Professional renovation Bali specialists understand that teak’s tangential movement (perpendicular to growth rings) differs significantly from radial movement (parallel to growth rings). A 100mm wide teak frame member can expand 2-4mm in width while showing minimal length change. This anisotropic behavior requires strategic gap placement—wider gaps on horizontal members, calculated side clearances on vertical jambs, and minimal top-bottom spacing.
The critical moisture content threshold for teak in Bali sits between 12-16%. Kiln-dried teak arrives at 8-10% moisture content but will equilibrate to local conditions within 2-4 weeks. Installing frames before this acclimatization period guarantees expansion problems. Conversely, frames stored in open-air conditions may reach 18-20% moisture content and will shrink after installation in climate-controlled interiors, creating unsightly gaps.
Teville’s finishing teams conduct moisture meter readings at multiple frame points before installation, refusing to proceed if readings vary more than 2% between members or exceed 14% for interior applications. This quality control step, standard in our construction process, prevents 90% of expansion-related callbacks.
Temperature also affects expansion rates. Bali’s 26-32°C range seems modest, but direct sun exposure on west-facing doors can raise surface temperatures to 45°C, accelerating moisture loss and creating localized shrinkage. South-facing installations in shaded courtyards maintain stable moisture content year-round. These microclimate variations demand site-specific gap calculations rather than generic measurements.
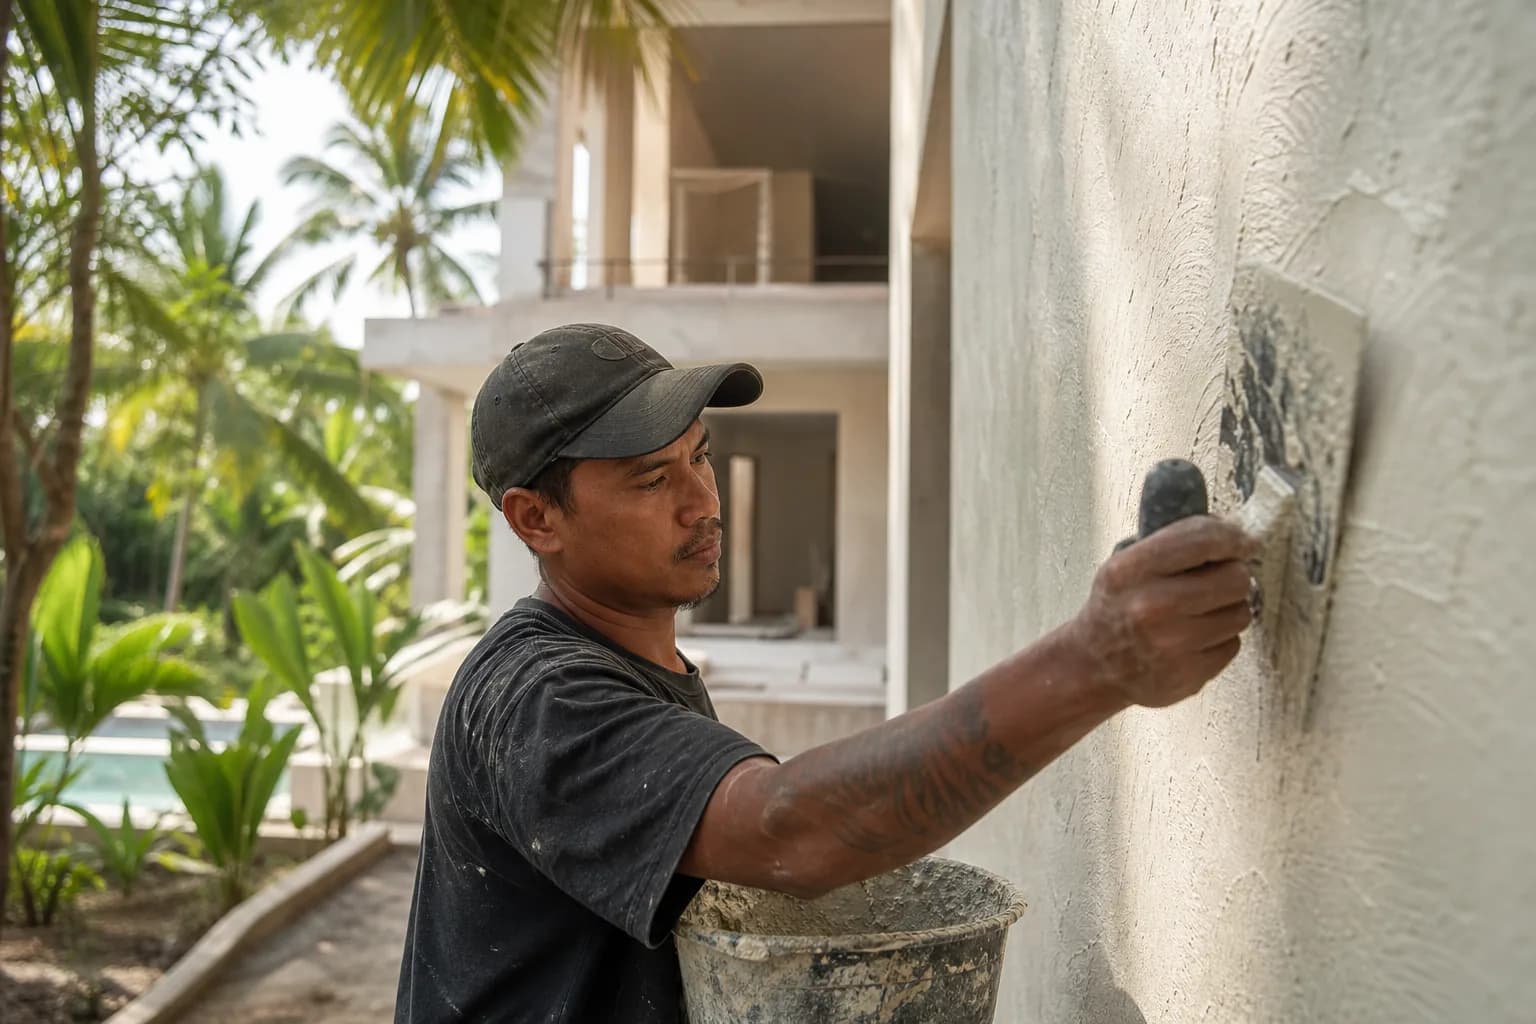
The interaction between teak frames and surrounding materials compounds complexity. Concrete or brick walls absorb and release moisture differently than timber stud walls. Plaster finishes create vapor barriers affecting frame drying rates. Modern villa utilities like air conditioning create artificial climate zones where interior humidity drops to 50-60%, while exterior-facing frames experience full tropical exposure. Professional installers account for these differential conditions when specifying gap dimensions.
Understanding these physics principles transforms door frame installation from carpentry guesswork into engineering precision—the hallmark of quality interior finishing Bali work that performs flawlessly across decades.
Material Specifications and Quality Standards for Bali Installations
Not all teak performs equally in Bali’s demanding environment. Plantation teak (Tectona grandis) grown in Java or Kalimantan with 15-25 year rotation cycles contains higher moisture content and less natural oil than old-growth teak, requiring larger expansion gaps. Premium grade teak for door frames should show tight, straight grain with minimal sapwood content—sapwood absorbs moisture 3-4 times faster than heartwood, creating uneven expansion patterns.
Kiln-drying specifications matter critically. Proper kiln schedules for teak destined for Bali installation should target 12% final moisture content with slow cooling phases that relieve internal stresses. Rush-dried timber develops case-hardening where surface layers dry faster than cores, creating internal tension that manifests as warping months after installation. Reputable suppliers provide kiln certificates documenting drying curves and final moisture readings.
Frame member dimensions affect expansion calculations directly. Standard residential door frames use 80-100mm width jambs and headers. Commercial or villa entrance frames may specify 120-150mm members requiring proportionally larger gaps. Thickness (typically 30-40mm) shows minimal expansion but affects structural stability. Teville’s villa projects typically specify 100x35mm teak frames for interior doors and 120x40mm for exterior applications.
Fastener selection proves equally important. Stainless steel screws (grade 304 minimum) resist Bali’s corrosive environment. Galvanized fasteners fail within 2-3 years in coastal locations. Screw placement must allow frame movement—fixed points at top corners with slotted holes or oversized clearances at bottom corners permit vertical expansion without binding. Adhesive applications should be minimal and flexible, never rigid epoxies that prevent natural movement.
Finish treatments modify expansion behavior. Raw teak absorbs moisture rapidly; properly sealed frames with penetrating oil finishes or marine-grade polyurethane reduce moisture exchange by 60-70%, decreasing required gap dimensions. However, finishes require reapplication every 18-24 months in Bali conditions. Many high-end renovation Bali projects specify unfinished teak for interior frames, accepting larger gaps in exchange for authentic material expression and reduced maintenance.
Professional Installation Process: Step-by-Step Technical Protocol
Step 1: Site Assessment and Acclimatization (Days 1-21)
Deliver teak frames to installation site minimum 14 days before installation. Store horizontally on level blocking in the actual room where installation will occur, allowing air circulation on all sides. Take daily moisture readings at three points per frame member, logging results. Installation proceeds only when readings stabilize at 12-14% with less than 1% variation between members. For urgent timelines, climate-controlled acclimatization chambers can reduce this period to 7 days, though 14-21 days remains best practice for Bali villa construction quality standards.
Step 2: Opening Preparation and Measurement (Day 22)
Verify rough opening dimensions at six points—top, middle, bottom on both sides. Variations exceeding 5mm require shimming strategy documentation. Check plumb and level of opening; out-of-plumb conditions beyond 3mm per meter need structural correction before frame installation. Clean opening thoroughly, removing dust, debris, and loose material. Apply masonry sealer to porous surfaces that might wick moisture into frame contact points.
Step 3: Gap Calculation and Marking (Day 22)
Calculate required expansion gaps using this formula: Gap (mm) = Frame width (mm) × 0.003 × Expected moisture swing (%). For typical Bali interior installation with 100mm frame width and 4% moisture swing expectation: 100 × 0.003 × 4 = 1.2mm minimum gap. Add 0.8mm safety margin = 2mm total side gap per side. Mark frame members with gap dimensions at installation points. For exterior frames or coastal locations, increase moisture swing expectation to 6-8%, yielding 3-4mm gaps.
Step 4: Frame Assembly and Positioning (Day 22)
Pre-assemble frame components using mortise-tenon or biscuit joints with marine-grade adhesive on joint faces only. Insert temporary spacers cut to exact gap dimensions at four corners and mid-points. Position frame in opening, centering gaps equally on both sides. Use laser level to verify plumb on both jambs and level on header. Adjust shimming until frame achieves perfect alignment with specified gaps maintained.
Step 5: Fastening and Securing (Day 22)
Drill pilot holes through jambs into wall substrate at 400mm intervals, starting 150mm from corners. Use 75mm stainless steel screws with finishing washers. Critical: Top two fasteners on each jamb are fixed points. All fasteners below mid-height use slotted shim technique—drill 8mm diameter holes through shims, insert 6mm screws, allowing 1mm lateral movement. This permits vertical expansion without frame distortion. Verify gaps remain consistent after each fastener installation.
Step 6: Seal and Finish Integration (Day 23)
Apply flexible polyurethane or silicone sealant in gaps between frame and wall, tooling to slight concave profile that accommodates movement. Never use rigid grout or mortar in expansion gaps. Install door stops with 1mm clearance from frame back, using adhesive only—no through-fasteners that restrict movement. For painted finishes, prime and paint before door hanging. For natural finishes, apply penetrating teak oil after installation, wiping excess after 15-minute absorption period.
Step 7: Door Hanging and Final Adjustment (Day 24)
Hang door with 3mm top clearance, 2mm hinge-side clearance, 3mm latch-side clearance, and 8-10mm bottom clearance (interior) or 12-15mm (exterior). These clearances account for door panel expansion independent of frame movement. Verify smooth operation through full swing arc. Mark and install latch hardware with strike plate positioned for current conditions—expect seasonal adjustment requirements.
This systematic approach, refined across hundreds of completed projects, ensures teak door frames perform flawlessly throughout Bali’s seasonal humidity cycles.
Cost Analysis and Project Timeline for Teak Frame Installation
Material costs for premium kiln-dried teak door frames in Bali range from Rp 2,500,000-4,500,000 per standard interior door frame (2.1m height × 0.9m width) depending on grade and supplier. Exterior frames with larger dimensions cost Rp 4,000,000-7,000,000. These prices reflect quality material suitable for proper expansion gap installation—budget alternatives using green or poorly dried teak may cost 30-40% less but guarantee installation failures.
Professional installation labor by experienced interior finishing Bali specialists costs Rp 800,000-1,500,000 per frame, including acclimatization monitoring, precise gap calculation, and proper fastening techniques. This represents 3-4 hours of skilled craftsman time plus supervision. DIY installation or using unqualified labor saves money initially but typically requires complete reinstallation within 12-18 months, doubling total costs.
Additional costs include stainless steel fasteners (Rp 150,000 per frame), flexible sealants (Rp 100,000), shims and spacers (Rp 75,000), and finishing materials (Rp 200,000-500,000 depending on treatment). For complete villa projects, frame supply and installation typically represents 8-12% of total furniture installation and finishing budget.
Timeline considerations for quality installation span 24-28 days from material order to final adjustment: 3-5 days for material sourcing and kiln verification, 14-21 days acclimatization, 2-3 days installation and finishing, plus 1-2 days for door hanging and hardware. Rushed timelines compromising acclimatization periods save 2-3 weeks initially but create maintenance issues requiring attention within the first year.
Teville’s cost estimation process accounts for these realistic timelines and quality material specifications, ensuring renovation Bali projects deliver lasting value rather than requiring premature repairs. The investment in proper expansion gap installation pays dividends through decades of trouble-free operation and maintained aesthetic quality.
Frequently Asked Questions: Teak Door Frame Expansion Gaps
How much gap should I leave for a teak door frame in Bali?
For interior installations, leave 2-3mm gaps on each side of the frame (4-6mm total width allowance). Exterior frames or coastal locations require 3-4mm per side. These calculations assume properly kiln-dried teak (12-14% moisture content) and account for Bali’s 4-8% seasonal moisture content swings. Frames wider than 120mm may require proportionally larger gaps—consult with finishing specialists for precise calculations based on your specific installation conditions.
Can I install teak frames immediately after delivery?
Never install teak frames immediately upon delivery. Minimum 14-day acclimatization in the installation environment is essential, with 21 days preferred for optimal results. Frames delivered from Java or other islands arrive at different moisture content than Bali’s ambient conditions. Immediate installation causes either expansion (if frames are drier) or shrinkage (if frames are wetter) than equilibrium, resulting in binding, gaps, or structural failure. This acclimatization period is non-negotiable for quality Bali villa construction standards.
What happens if expansion gaps are too small?
Insufficient expansion gaps cause frames to bind against wall openings during humid season moisture absorption. This creates several problems: frame members bow or warp under compression stress, joints separate as pressure seeks relief points, plaster or wall finishes crack around frame perimeter, doors become difficult or impossible to operate, and in severe cases, frame members split longitudinally. Repairs require complete frame removal and reinstallation—far more expensive than proper initial i
 2144 m²11 month(s)from 104.000 USD
Narayana
 3104 m²11 month(s)from 99.000 USD
TALA 100
 172 m²8 month(s)from 120.000 USD
Keshava
 3180 m²7 month(s)from 142.000 USD
Vasudeva
 164 m²7 month(s)from 79.000 USD
TALA TWO
 3127 m²9 month(s)from 177.000 USD
Mukunda

Want to calculate?
 3173 m²6 month(s)from 125.000 USD
TALA FOUR
164 m²7 month(s)from 79.000 USDPrivate: Haridas Villas, Tegallalang
 4344 m²16 month(s)from 290.000 USD
Radha
 3124 m²6 month(s)from 123.000 USD
TALA 8
 1from 198.000 USD
Private: Haridas Villas
Start With Real Numbers, Not Guesses
Before finalizing your finishing works plan, check realistic cost ranges for your Bali villa project.
Available lands
 2200 m²15 min$ 508005Bali, Canggu
 660 m²10 min$ 175567Bali, Mengwi
 420 m²15 min$ 41897Bali, Tabanan
 1000 m²10 min$ 384852Bali, Canggu
 500 m²2 min$ 175862Bali, Cemagi
 1100 m²8 min$ 280419Bali, Ungasan
 422 m²15 min$ 93547Bali, Kerobokan
 1200 m²2 min$ 155172Bali, Klungkung
 3000 m²15 min$ 1246921Bali, Tabanan
 1950 m²7 min$ 150092Bali, Tabanan
 18900 m²2 min$ 6912931Bali, Pecatu
 3100 m²20 min$ 272968Bali, Tabanan
 2800 m²15 min$ 310345Bali, Tabanan
 2000 m²15 min$ 110837Bali, Karangasem
 1533 m²5 min$ 165666Bali, Cepaka
Planning a build in Bali?
Get a feasibility view, budget range and timeline from Teville.
Related guides
Resin-Infused Plaster Finishes: Anti-Salt Systems Bali
Expert technical guide: Resin-Infused Plaster Finishes: Anti-Salt Systems Bali
8 min read
Prefinished Timber Joinery: Silicone Seals Fixings Bali
Professional prefinished timber joinery installation in Bali with silicone seals and fixings for durable weatherproof performance and a premium finish.
10 min read
Polished Concrete Microtopping: Surface Prep Sealants Bali
Discover Bali s polished concrete microtopping: expert surface prep, durable sealants, and a flawless finish for modern floors with minimal maintenance.
9 min read