Resilient Vinyl Seams: Bali Heat-Weld Protocols for Flooring
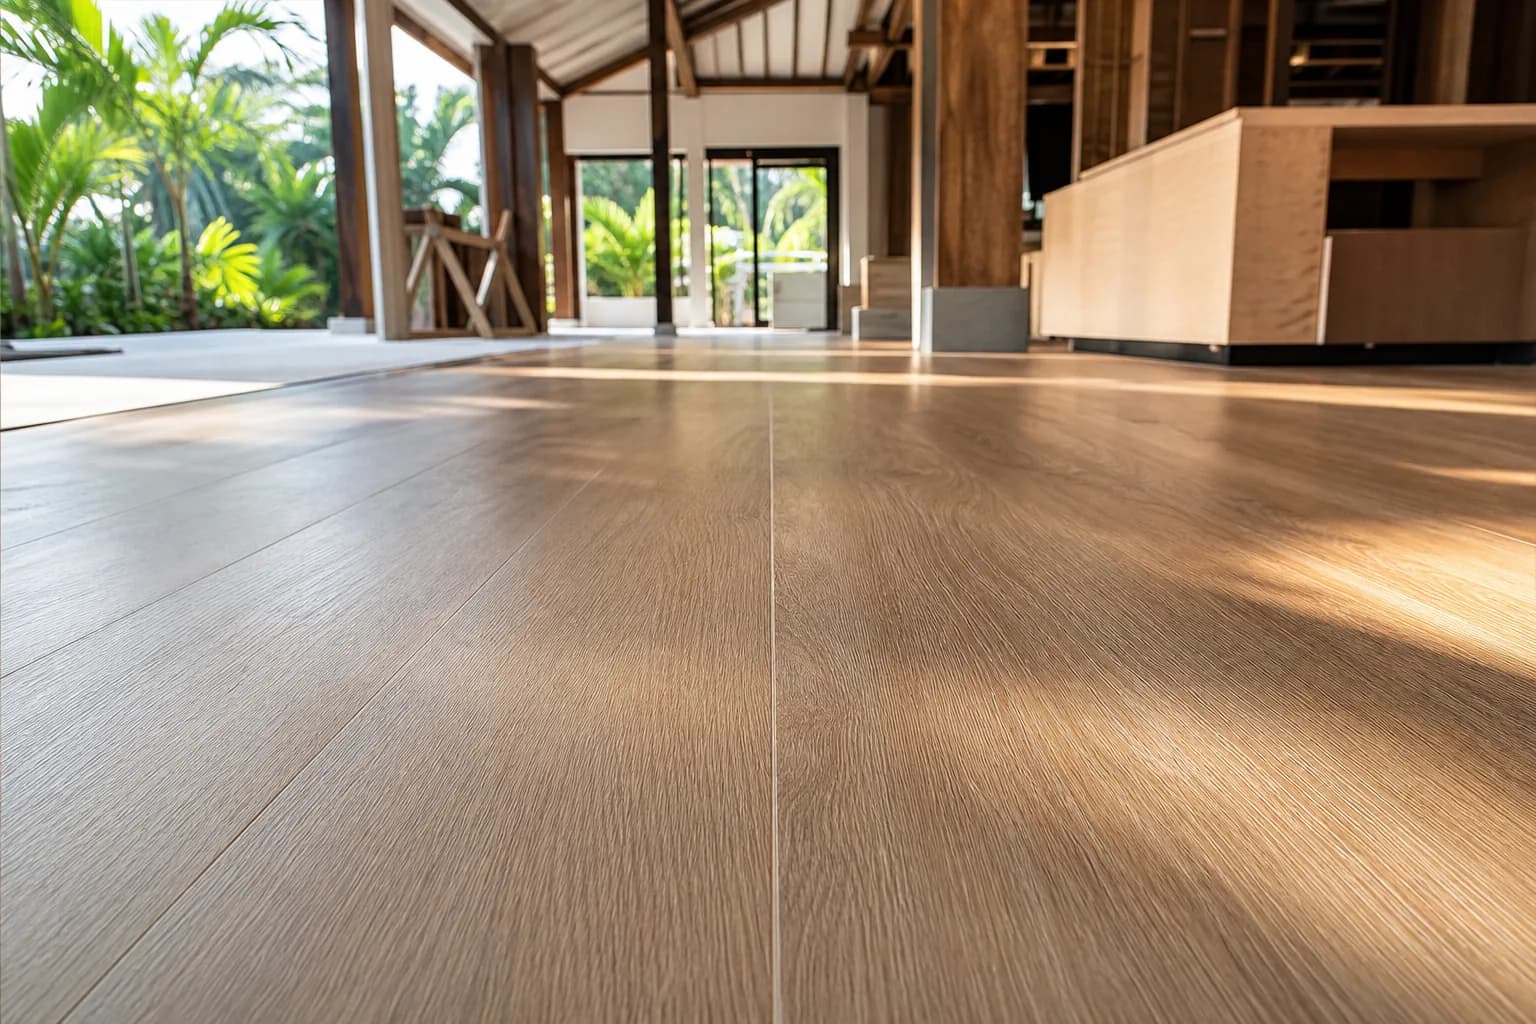
Resilient Vinyl Flooring Seams: Heat-Weld Protocols Bali
Specific Problem/Question
In Bali’s tropical climate—high humidity, frequent wet cleaning, and salt-laden air—resilient vinyl floors succeed or fail at the seams. Poorly welded joints wick water, harbor mold, curl under UV and heat, and separate under furniture loads. What is the correct, climate-adapted heat-welding protocol that delivers watertight, durable seams for villas, renovations, and hospitality interiors in Bali—aligned with construction standards Bali and manufacturer guidance—while protecting adjacent finishes and ensuring consistent finishing quality?
Technical Deep Dive
Heat-welding resilient vinyl seams creates a monolithic surface by fusing a compatible thermoplastic welding rod into a precisely grooved joint between sheets or tiles. The integrity of the weld is governed by four variables: substrate and adhesive readiness, groove geometry, welding temperature and travel speed, and controlled cooling/trimming.
Substrate and adhesive readiness are critical in Bali. High ambient humidity can slow adhesive water evaporation or alter cure kinetics for pressure-sensitive and two-part epoxy acrylics. Practical controls include acclimating materials 24–48 hours at 22–26°C with RH 45–65%, stabilizing the space via AC or dehumidification, verifying subfloor moisture with a calibrated meter to manufacturer limits, and then allowing adhesive to set a full 24 hours post-installation before heat welding. This pause prevents heat-induced gas expansion (bubbling) and joint movement under the nozzle load.
Groove geometry determines mechanical interlock and fusion volume. Using a straightedge and hand or power groover, cut a centered groove approximately 3.5 mm wide, to two-thirds of the floor thickness or roughly half the welding rod diameter—never penetrating the backing. A consistent, clean groove ensures the rod sits proud during the first pass and finishes flush after skiving. Misaligned or shallow grooves lead to weak shoulders and premature seam shear near bathrooms, pantries, and service corridors.
Welding temperature and feed rate must suit the product and environment. For most PVC-based resilient floors, 650–700°F (343–371°C) at the nozzle is typical; hotter ambient conditions or darker finishes may require slight reduction to avoid scorching, while cool, air-conditioned rooms may need the high end of the range. Maintain a perpendicular gun posture, steady pace, and light downward pressure to wet the rod and groove shoulders simultaneously. A uniform bead “wash” at the seam edges indicates correct fusion.
Cooling and trimming lock in strength and appearance. Forced cooling can embrittle the bead; instead, let the seam return to room temperature before the first and second skive passes. The two-pass trim—initial skive with a slide plate, then final flush trim after full cool—prevents concavity and protects the heat-affected zone.
In Bali villa construction and renovation Bali work, interface details are as important as the weld itself. Coordinate thresholds at wet zones and exterior transitions to keep seams out of direct splash lines. Plan furniture installation and villa utilities routing (access hatches, cleanouts) so seams don’t fall directly under heavy legs or along cut-outs. Where service chases or drains are unavoidable, reinforce with factory-formed inside/outside corners and continuous, heat-welded terminations beneath coved skirting to maintain hygiene and water integrity.
Quality control hinges on a simple strength test: when tugged, a correct weld fractures within the rod rather than peeling from the seam. Teville’s finishing specialists treat this as a mandatory check before area handover, alongside visual uniformity, absence of scorching, and smooth transition across joints.
Materials & Standards
Teville specifies tools and consumables that align with manufacturer recommendations and construction standards Bali expectations for tropical interiors:
- Temperature-controlled hot-air welder (220V, 50Hz), with 4–5 mm speed nozzles compatible with the selected rod.
- PVC welding rod matched by manufacturer and color, stored sealed and acclimated to site conditions.
- Straightedge and grooving tools (hand V-groover or power groover with depth stop), dust extraction for clean grooves.
- Quarter-moon knife, skiving blades, slide plate, and flush trimmer for two-stage trimming.
- Seam roller, silicone or PTFE roller for bead consolidation at terminations.
- Infrared thermometer or built-in welder temperature readout; optional thermocouple probe for verification.
- Adhesive per flooring system (pressure-sensitive, acrylic, or two-part) and manufacturer-approved trowel notch.
- PPE: cut-resistant gloves, safety glasses, knee protection, and heat-resistant tips; local ventilation per site policy.
- Environmental controls: portable dehumidifier or AC to maintain RH 45–65% during install, cure, and welding.
Standards and references informing this protocol include manufacturer installation guides that call for:
- Adhesive set time of approximately 24 hours before heat welding.
- Groove depth at about two-thirds of flooring thickness or half the rod diameter, approximately 3.5 mm wide.
- Nozzle temperatures typically 650–700°F (343–371°C) adjusted for ambient conditions and product color.
- Full cool-down to room temperature prior to skiving, then a two-pass trim for a flush, sealed seam.
- Weld integrity check: rod breaks before lifting from the joint when tugged.
Representative technical guidance can be found via manufacturer documents such as Forbo’s welding instructions, Graphic Image Flooring’s installation notes, and Lonseal’s heat-weld guide:
Forbo Heat Welding,
Graphic Image Flooring,
Lonseal Guide.
Teville aligns these with Bali’s environmental context—salt air, tropical rain exposure near open pavilions, and frequent mop cycles—to ensure interior finishing Bali projects meet hygiene and durability expectations in hospitality, healthcare, and luxury residential villas.
Step-by-Step Process
1) Pre-conditions and Layout
- Survey substrate flatness (≤3 mm over 2 m), moisture per adhesive/floor spec, and confirm smooth, dust-free surface.
- Acclimate sheets/tiles and welding rod 24–48 hours at 22–26°C, RH 45–65% with stabilized HVAC.
- Plan seam locations away from direct splash lines, thresholds, and furniture load paths. Align with room geometry.
- Dry-fit and scribe to walls and utilities penetrations. Avoid seams through service access hatches; if necessary, plan reinforced terminations.
2) Bonding the Floor
- Spread approved adhesive with specified notch; respect open time. Lay material without tension.
- Roll with 50–70 kg roller in cross passes; re-roll after 30 minutes to collapse residual ridges.
- Protect from traffic and maintain environmental controls for cure. Wait a full 24 hours post-bond before welding.
3) Grooving the Seam
- Snap a straight reference line. Use a groover with depth stop to cut a 3.5 mm wide groove to ~2/3 thickness or 1/2 rod diameter, centered on the seam.
- Do not cut into the backing. Clean dust with vacuum; do not flood with liquid.
4) Heat-Welding
- Set welder to 650–700°F (343–371°C). In warmer rooms, begin mid-range to avoid scorching; verify with IR thermometer.
- Fit the correct speed nozzle; feed the matched PVC rod through the guide.
- Hold the gun perpendicular; start in a test offcut to confirm bead “wash.”
- Weld with steady travel speed and light pressure so the rod wets the groove and shoulders; maintain a slight crowned bead above the surface.
- Stagger start/stop points under skirting or furniture bases. For long runs, overlap welds 25–30 mm, then trim.
- At T-junctions, weld the through-seam first, then cross-seam to avoid craters. Formed corners: preheat lightly and ensure complete rod contact up the cove.
5) Cooling and Trimming
- Allow the seam to cool naturally to room temperature; do not fan or mist.
- First skive: use a slide plate with quarter-moon knife to remove ~80% of bead height without gouging adjacent surface.
- After full cool-down, final skive flush. The seam should be even, without dish or proud edges.
6) Quality Control and Protection
- Perform tug test: rod should fracture before debonding from the seam.
- Check for uniform color, no burn marks, and smooth transition across joints; address holidays by re-groove/weld short sections as needed.
- Clean with neutral pH detergent; avoid harsh solvents. Place protection boards if other trades continue.
These stages—especially the 24-hour adhesive set, precise 3.5 mm groove to ~2/3 depth, 650–700°F welding, and full cool before two-pass skive—are non-negotiable for durable, watertight seams in Bali conditions.
Costs & Timeline
Costs vary by product line, site conditions, and detailing. Typical cost components in Bali villa construction and renovation Bali settings include:
- Materials: welding rod (by color and length), blades, nozzles, and consumables.
- Labor: certified installer time for grooving, welding, trimming, and detailing corners/thresholds.
- Site conditioning: temporary AC/dehumidification to stabilize RH for adhesive cure and welding.
- Protection and cleaning: surface protection during subsequent works and final neutral cleaning.
Indicative timelines (for planning only):
- Acclimation: 1–2 days depending on shipment condition and site HVAC stability.
- Adhesive cure pre-weld: 24 hours minimum.
- Welding productivity: 40–80 linear meters/day for open runs; 20–40 m/day where complex corners, drains, or utilities penetrations are present.
- Cooling and trimming: same day as welding, with final inspection next morning.
Upfront coordination with furniture installation and villa utilities teams helps avoid cutting new seams later for access panels or last-minute leg placements, protecting finish quality and program. For an itemized estimate, Teville’s preconstruction team can review drawings and site photos via our cost planning portal: Cost Estimation.
FAQ Block
Q1. Why do seams fail more often in Bali?
A. Elevated humidity and frequent wet cleaning slow adhesive cure and increase water exposure. If welding occurs before the 24-hour set, or groove depth is inconsistent, seams can micro-gap, wick moisture, and debond under traffic and UV.
Q2. What temperature should I use?
A. Start at 650–700°F (343–371°C) at the nozzle, verified by IR thermometer. Adjust slightly for ambient temperature, product color, and substrate mass. Look for a consistent edge “wash” as your live indicator.
Q3. Can I speed-cool and trim sooner?
A. No. Forced cooling embrittles the weld. Allow natural cool-down to room temperature, then perform the two-pass skive to avoid dish-out and weak shoulders.
Q4. Is chemical (cold) seam sealer acceptable?
A. In wet rooms and high-traffic hospitality spaces we recommend heat welding. Chemical sealing may be used by manufacturer exception for certain details, but it does not provide the same monolithic watertight performance as a proper heat weld.
Q5. How do I handle thresholds and drains?
A. Keep seams back from the water line where possible. Use factory-formed corners and continuous cove to skirting. At drains, use manufacturer collars or precision cuts with full weld around the flange. Pre-coordinate with plumbing layouts to avoid last-minute on-site seam relocations.
Q6. What about furniture legs and casters?
A. Concentrated loads can dish or shear fresh welds. Install protective glides, specify soft casters, and avoid placing heavy legs directly over seams. Sequence furniture installation after final inspection and at least 24 hours post-welding.
Q7. How do I test weld strength?
A. After full cool, perform the tug test on an offcut and at discreet locations. A correct weld fractures within the rod, not at the seam interface. Record temperatures, speed, and results in the QC log.
Q8. Can I re-weld a bad section?
A. Yes. Carefully re-groove to remove the compromised bead without cutting the backing, vacuum clean, and re-weld with corrected temperature and speed. Re-trim after cooling and re-test.
Q9. Any special safety considerations?
A. Use PPE, manage cable routing to prevent tripping with hot tools, and ventilate when working in tight spaces. Keep heat guns off finished surfaces and never leave them unattended powered on.
Q10. How does this fit into construction standards Bali and project delivery?
A. We align manufacturer protocols with site conditioning plans, documented hold points (adhesive set verification, test welds), and final QC sign-off. This integrated approach is part of Teville’s finishing methodology for interior finishing Bali projects and hospitality-grade hygiene.
Expert Summary
A resilient, watertight seam in Bali starts with discipline: stabilize the environment, let adhesive set a full 24 hours, groove cleanly to ~2/3 depth (~3.5 mm wide), weld at 650–700°F with steady speed, allow full cool, then skive in two passes. Validate by the rod-fracture tug test. This protocol—combined with smart seam placement, coordinated thresholds, and protection from early loads—yields durable, hygienic floors across villas, spas, and hospitality areas. Teville’s finishing specialists integrate these steps within broader Bali villa construction workflows, coordinating with renovation Bali tasks, furniture installation, and villa utilities teams for reliable results. Explore recent work and our process here: Portfolio, Before finalizing your finishing works plan, check realistic cost ranges for your Bali villa project.
Available lands
 1100 m²8 min$ 280419Bali, Ungasan
 2130 m²10 min$ 495776Bali, Pecatu
 1000 m²8 min$ 134544Bali, Bukit
 800 m²10 min$ 307882Bali, Tibubeneng
 1375 m²10 min$ 447044Bali, Canggu
 3300 m²15 min$ 449889Bali, Tabanan
 3100 m²20 min$ 272968Bali, Tabanan
 3700 m²15 min$ 738177Bali, Tabanan
 2500 m²5 min$ 609606Bali, Kedungu
 6000 m²10 min$ 1330049Bali, Kutuh South Bali
 1000 m²10 min$ 303571Bali, Tabanan
 1700 m²10 min$ 632257Bali, Kuta
 1350 m²5 min$ 283467Bali, Pecatu
 700 m²15 min$ 162500Bali, Tabanan
 325 m²15 min$ 44472Bali, Ungasan
Essential Bali build & buy guides
- Bali villa construction cost per m² in 2026
- How much will your villa cost? Calculator
- Building a villa in Bali: the complete guide
- Buying land in Bali: step-by-step for foreigners
- Bali villa investment: yields, risks, returns
- Leasehold vs freehold: what foreigners can own
- Construction defect liability & 10-year warranty
- Bali building codes and construction standards
Related guides
Integrated Furniture Fixings Hidden Brackets MEP Clearance Bali
Explore integrated furniture fixings with hidden brackets and MEP clearance in Bali. Learn installation tips, load guidance, and clean, accessible finishes.
8 min read
Epoxy Primer Moisture Barrier for Bali Interior Renovations
Explore epoxy primer and moisture barrier solutions for Bali interior renovations, delivering durable adhesion, moisture protection, and long-lasting finishes.
8 min read
Engineered Stone Countertop Fixing Support Standards Bali
Explore Bali s engineered stone countertop fixing and support standards. Installation tips, durability guidance, and compliance for lasting quality surfaces.
10 min read