Moisture-Tolerant Plasterboard Skim: Bali Jointing Finishing
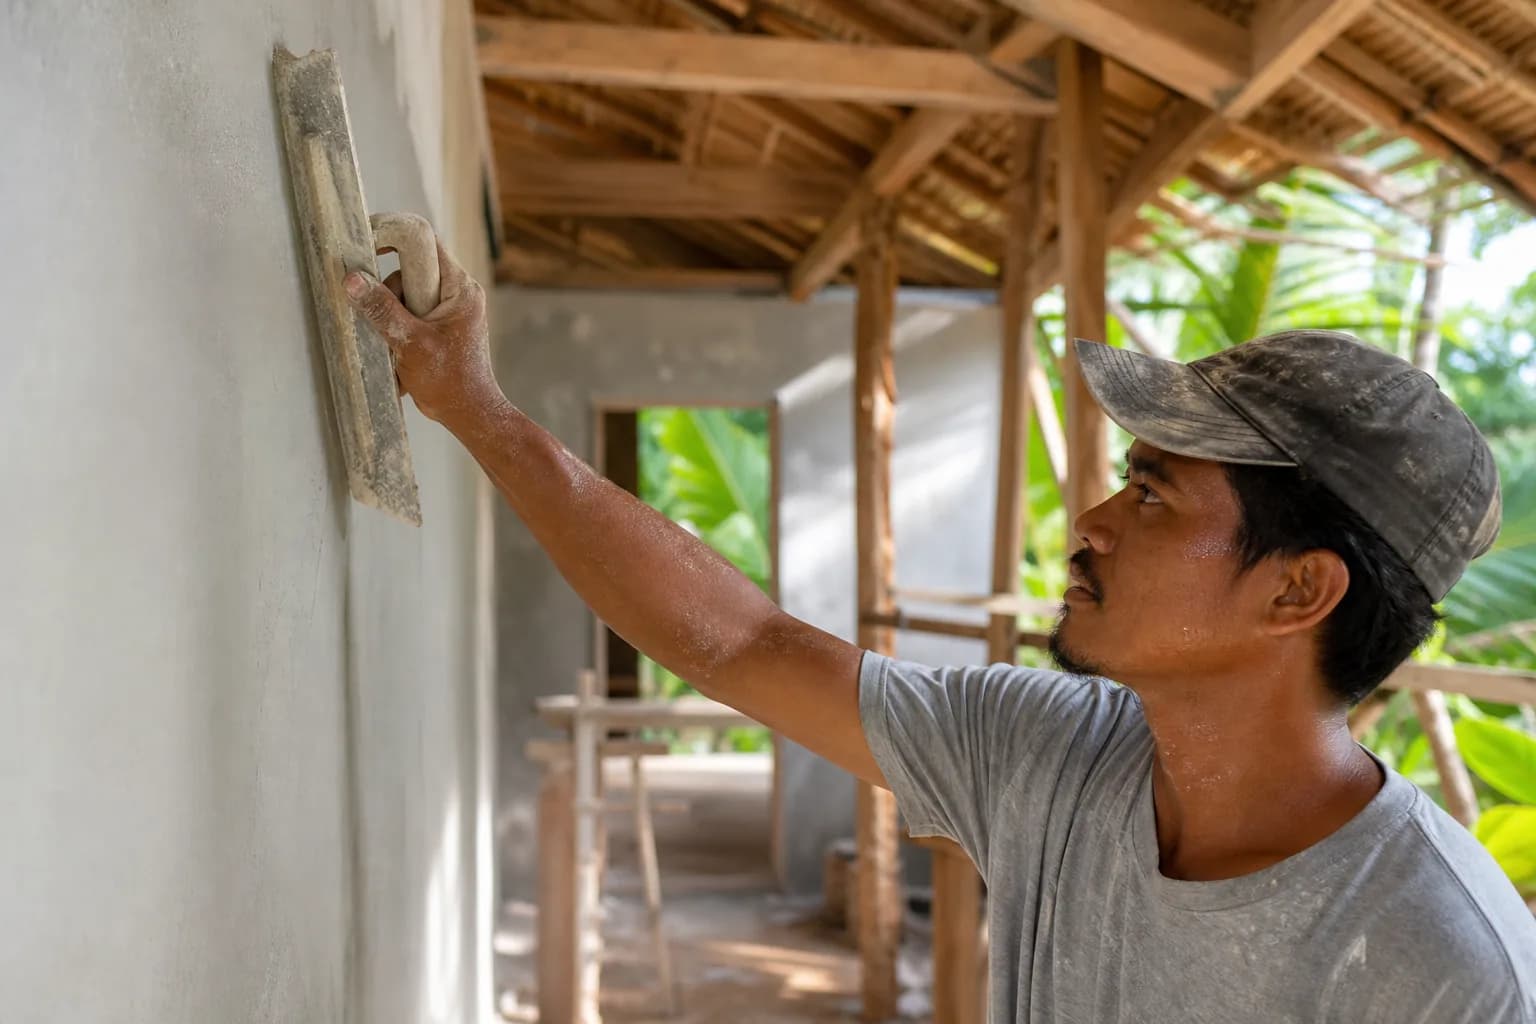
Moisture-Tolerant Plasterboard Skim: Jointing & Finishing in Bali
1. Specific Problem/Question
How do you achieve a flat, durable, moisture-tolerant plasterboard finish for Bali’s high-humidity villas and renovations—especially in bathrooms, kitchens, and coastal rooms—without joint telegraphing, edge swelling, or mold staining? As a full-cycle builder in Bali, Teville (PT. The Haridas Villas) is frequently called to correct skim and jointing failures caused by unsuitable compounds, rushed drying in monsoon season, or overlooked vapor management. This article details the exact jointing-and-skim workflow, materials, climate controls, and quality checks we apply to deliver resilient interior finishing Bali clients expect.
2. Technical Deep Dive: What Changes in Bali’s Climate
In Bali villa construction, humidity load is the primary risk to plasterboard finishing. Even when using moisture-resistant (MR) boards, improper jointing and skim practice leads to ridging, blistered tape, micro-cracking, or mildew in paint films. A moisture-tolerant system is not one product; it is a coordinated approach to board layout, joint reinforcement, compounds selection, skim chemistry, and controlled curing. Teville’s finishing specialists standardize these principles:
- Board preparation and gapping: We maintain a 10–12 mm gap off finished floors and wet thresholds to reduce capillary wicking, consistent with best-practice guidance noted by DIY Building Supplies. This gap is later closed with moisture-tolerant sealant and skirting.
- Framing and fixing: Stud spacing and fastener patterns must meet manufacturer tolerances; poorly aligned framing can produce joint shadowing after humidity cycles. We ensure screw heads are slightly dimpled and rust-protected in coastal zones.
- Tape selection and embedding: Paper tape yields the strongest joint core when properly bedded; fiberglass mesh can be used in non–fire-rated areas with compatible compounds. At wet-adjacent zones (vanity backs, kitchen splashes), we favor paper for crack resistance.
- Compound strategy: A moisture-tolerant joint system pairs:
- A setting-type base compound (powder, controlled set) for bedding and first fill. These are less humidity-sensitive, generate crystallization strength, and reduce re-emulsification risk.
- A lightweight finishing compound (moisture-resistant ready-mix) for topping coats, optimized for easy sanding and lower shrinkage.
- Skim coat chemistry: For full-surface smoothing and moisture resilience, acrylic skim coats such as SikaWall®-603 Acrylic provide a stable, low-porosity finish compatible with MR boards. Acrylics retain flexibility through humidity cycles and accept vapor-permeable primers.
- Perimeter management: All board perimeters, service penetrations, and dissimilar substrate junctions are sealed with elastomeric acoustic/air-seal sealant to limit moisture-laden air ingress behind boards—a common hidden cause of joint defects.
- Environmental controls: Drying is time-under-conditions, not time-on-calendar. We condition rooms to approx. 22–28°C with ventilation or dehumidification, targeting 50–65% RH. In monsoon season or enclosed bathrooms, we deploy desiccant dehumidifiers and low-turbulence fans to prevent case-hardening.
- Compatibility with finishes: Vapor-open primers and paints (Class I–II permeance, as specified by manufacturer) let assemblies breathe while resisting splashes. In true wet zones (showers), use cement boards and waterproofing, then transition to MR plasterboard outside the direct wet area for skim and paint.
- Flatness for furniture installation: Bali villas often integrate wall-to-wall cabinetry and custom headboards. We frame and skim to tight tolerances (≤2 mm over 2 m straightedge) in millwork interfaces to minimize scribing and prevent joint telegraphing through built-ins’ shadow lines.
- Utilities integration: Around villa utilities—switches, mixers, and concealed AC lines—we pre-fit collars and reinforce with patch tape and setting compound to avoid halo cracks. Penetrations are primed and sealed before final skim.
Common failure modes in renovation Bali projects include: skipping a setting-type base; using mesh tape with drying-type mud in humid bathrooms; skimming before compounds have equalized moisture; closing perimeters with rigid fillers; painting with low-permeance coatings that trap moisture; and neglecting HVAC startup sequencing. Teville mitigates each with a documented workflow, climatic logs, and signoffs per phase.
3. Materials & Standards That Withstand Bali
Our specifications prioritize compatibility, moisture tolerance, and adherence to recognized construction standards Bali projects rely on. Standards and guidance we align with include manufacturer datasheets, ASTM practices for gypsum board application and joint finishing, European plasterboard norms, and relevant Indonesian SNI requirements for interior finishing and moisture management. Because manufacturers’ systems are tested as assemblies, we always follow their system-level instructions.
- Substrate and board: Moisture-resistant plasterboard from Tier-1 brands, tapered-edge for jointing; cement board for direct wet exposure (showers, exterior eaves). Salt-air–rated fasteners for coastal villas.
- Tapes: Paper tape for primary joints; fiberglass mesh only where permitted by the chosen compound and not in fire-rated joints.
- Compounds:
- Setting-type (powder) for bedding and first/second fill; select working time per area size (20–90 min).
- Moisture-resistant lightweight ready-mix for topping; low-shrink formulation for Bali’s diurnal RH swings.
- Skim coats: Acrylic-based skim such as SikaWall®-603 Acrylic for full-surface leveling and enhanced moisture tolerance, as referenced by Sika. Lime- or gypsum-based skims can be used where RH control is assured; acrylics are preferred for renovation Bali humidity variability.
- Primers and paints: Vapor-permeable primer/sealer compatible with acrylic skim and MR boards; high-quality acrylic topcoat, satin or semi-matte in kitchens/baths for cleanability (avoid impermeable membranes unless designed).
- Sealants: Paintable, low-modulus acrylic or MS polymer sealants at perimeters and utility penetrations; silicone in hidden non-paint interfaces.
- Accessories: Moisture-stable corner beads (PVC or corrosion-resistant metal), backer rods where movement joints are required, sanding mesh with dust extraction.
We maintain traceable batch records, SDS, and data sheets; verify shelf life; and conduct field adhesion and tape bond checks. Where performance classes are specified (e.g., finish levels), we document Level 4–5 expectations for high-illumination walls behind premium furniture installation. See our construction process and QA approach: How We Build.
4. Step-by-Step Process: Jointing and Skim, the Teville Way
Below is the controlled workflow we apply on Bali villa construction and renovation projects:
- 1) Precondition and protect: Enclose the area, ensure utilities rough-in is complete and pressure-tested. Run temporary HVAC or dehumidification to target RH 50–65%. Protect floors; verify the plasterboard-floor gap exists.
- 2) Inspect boardwork: Check screw dimples, re-fix proud boards, bevel cut edges, and dust all joints. Seal perimeters and service penetrations with elastomeric sealant.
- 3) Tape bedding (setting compound):
- Mix setting-type compound per manufacturer. Apply a 100–120 mm bed, center paper tape, and knife firmly to expel air.
- Inside corners: pre-crease tape; use corner trowels. Outside corners: install moisture-stable beads and set with compound or approved adhesive.
- Let cure under controlled RH; avoid forced hot air that skins the surface.
- 4) First fill (setting compound): Fill recessed joints, butt joints, fastener heads, and beads. Feather 150–200 mm past the joint. Check for blistering—if present, cut out, re-bed.
- 5) Topping coats (ready-mix MR):
- Apply two thin topping coats, each wider than the last (up to 300–350 mm on butt joints).
- Maintain temperature/RH; use gentle airflow. Record cure times; never coat over damp compound.
- 6) Flatness control: Cross-light walls, mark highs/lows, and adjust with a wide blade. Our target is ≤2 mm deviation over 2 m at millwork interfaces.
- 7) Full-surface acrylic skim:
- Prime-optional per product; many acrylic skims, like SikaWall®-603 Acrylic, are ready-to-use. Apply 0.5–1.5 mm in one or two passes to unify texture and porosity.
- In high-illumination or long corridors, a second polish pass eliminates joint read-through.
- 8) Sanding and dust control: Use mesh with vacuum extraction. Sand minimally; acrylic skims require a light pass (P180–P220). Clean surfaces thoroughly.
- 9) Prime and seal: Apply vapor-permeable primer compatible with acrylic skim and MR boards. Spot-check for suction uniformity; reprime if patchy.
- 10) Finish coats: Two coats premium acrylic paint; sheen selection by room function. Bathrooms/kitchens: use a moisture-tolerant topcoat. Maintain RH control until full cure.
- 11) Interfaces with furniture installation:
- Lay out cabinet and headboard lines; verify plumb/flatness within millwork tolerances.
- Install blocking behind boards during framing; after finishing, predrill with depth stops to preserve the skim/paint system.
- Use paint-safe construction adhesives only on primed zones; never bond directly to unprimed skim.
- 12) Utilities cutouts and trims: After paint, fit cover plates with gasketed backs. Seal annular gaps with paintable sealant to reduce moist air ingress.
- 13) Handover QA: Moisture meter spot checks, adhesion tape pull on offcuts, light raking inspection, and photographic documentation. For examples of finish levels we deliver, explore our portfolio and villa projects.
Note: In shower enclosures or steam rooms, we do not skim MR plasterboard; we use cement board plus waterproofing, tile or suitable finish, then transition outside the wet zone to MR board and acrylic skim for a visually continuous, robust finish.
5. Costs & Timeline (Indicative)
Costs vary by area size, complexity, humidity control needs, and finish level. Typical Bali market ranges for moisture-tolerant jointing and acrylic skim on MR plasterboard (materials, labor, protection, environmental control not including substrate framing) are:
- Standard living areas (Level 4 finish): IDR 120,000–200,000 per m²
- High-illumination walls/corridors (near Level 5): IDR 180,000–260,000 per m²
- Bathrooms/kitchens (enhanced moisture control): IDR 160,000–240,000 per m²
Adders: dehumidifier rentals, complex corner beads, millwork interface tolerancing, coastal corrosion mitigation, and post-renovation substrate remediation. For a project-specific estimate, share drawings and room schedules via our cost estimation form.
Timeline (per 100–150 m² zone):
- Joint taping and first fill: 1–2 days
- Topping coats (2 passes): 1–2 days
- Acrylic skim (1–2 passes): 1–2 days
- Drying/conditioning windows: 2–5 days total depending on RH
- Prime and paint: 1–2 days
Expect 6–12 working days for a controlled, staged finish in Bali’s climate. Renovation Bali work with substrate repairs and utilities coordination can extend durations, particularly during monsoon months when we increase conditioning to protect quality.
6. FAQ: Moisture‑Tolerant Jointing & Skim in Bali
Not waterproof. MR boards resist intermittent humidity and splashes but are not for direct, continuous water exposure. Use cement board and waterproofing in showers; transition to MR board outside wet zones.
Paper tape embedded in a setting-type compound provides the strongest core joint. Mesh may be used with compatible setting compounds in non–fire-rated areas; we prefer paper for bathrooms/kitchens’ crack resistance.
It cures chemically and is less sensitive to ambient humidity, reducing blistering and re-emulsification risk—a frequent cause of Bali failures.
Typically 0.5–1.5 mm total. The goal is to unify texture and porosity, not add mass. Thicker areas are for local correction only.
Use a vapor-permeable primer and a high-quality acrylic topcoat. In kitchens/baths, choose a scrub-resistant finish. Avoid impermeable films that could trap moisture vapor behind the coating.
Yes, after cleaning, deglossing, repairing, and applying a bonding primer compatible with the acrylic skim. We also test adhesion on sample patches before full application.
Control humidity during curing, ensure vapor-open paint, seal perimeters/penetrations, and maintain ventilation/AC. Fix any hidden leaks. MR b
 3127 m²9 month(s)from 177.000 USD
Mukunda
 3124 m²6 month(s)from 123.000 USD
TALA 8
 2144 m²11 month(s)from 104.000 USD
Narayana
 4344 m²16 month(s)from 290.000 USD
Radha

Want to calculate?
 172 m²8 month(s)from 120.000 USD
Keshava
 3173 m²6 month(s)from 125.000 USD
TALA FOUR
 164 m²7 month(s)from 79.000 USD
TALA TWO
 3104 m²11 month(s)from 99.000 USD
TALA 100
 1from 198.000 USD
Private: Haridas Villas
164 m²7 month(s)from 79.000 USDPrivate: Haridas Villas, Tegallalang
 3180 m²7 month(s)from 142.000 USD
Vasudeva
Start With Real Numbers, Not Guesses
Before finalizing your finishing works plan, check realistic cost ranges for your Bali villa project.
Available lands
 7900 m²25 min$ 413485Bali, Tabanan
 3300 m²15 min$ 449889Bali, Tabanan
 260 m²5 min$ 51872Bali, Kedungu
 2200 m²15 min$ 508005Bali, Canggu
 3100 m²20 min$ 272968Bali, Tabanan
 325 m²15 min$ 44472Bali, Ungasan
 8313 m²15 min$ 716670Bali, Buduk
 2500 m²5 min$ 609606Bali, Kedungu
 5028 m²10 min$ 361000Bali, Ubud
 1660 m²10 min$ 343448Bali, Kerobokan
 13000 m²1 min$ 920567Bali, Pekutatan
 2700 m²30 min$ 314224Bali, Sidemen
 1350 m²5 min$ 283467Bali, Pecatu
 400 m²15 min$ 67192Bali, Tabanan
 3700 m²15 min$ 738177Bali, Tabanan
Essential Bali build & buy guides
- Bali villa construction cost per m² in 2026
- How much will your villa cost? Calculator
- Building a villa in Bali: the complete guide
- Buying land in Bali: step-by-step for foreigners
- Bali villa investment: yields, risks, returns
- Leasehold vs freehold: what foreigners can own
- Construction defect liability & 10-year warranty
- Bali building codes and construction standards
Related guides
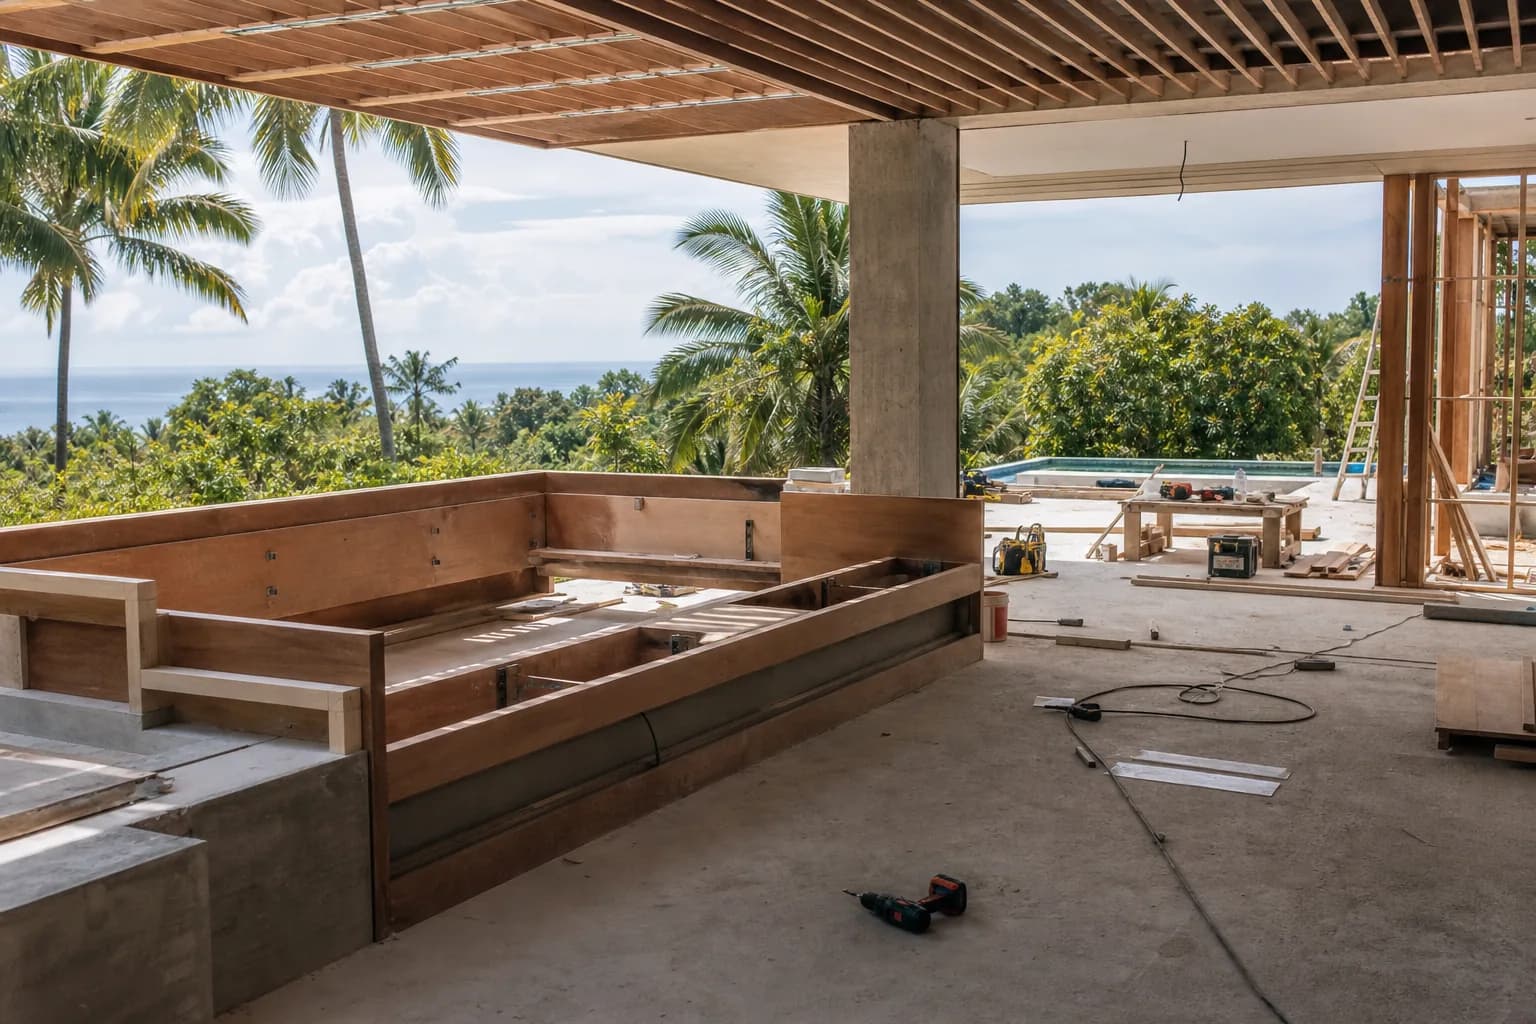
Integrated Furniture Fixings Hidden Brackets MEP Clearance Bali
Explore integrated furniture fixings with hidden brackets and MEP clearance in Bali. Learn installation tips, load guidance, and clean, accessible finishes.
8 min read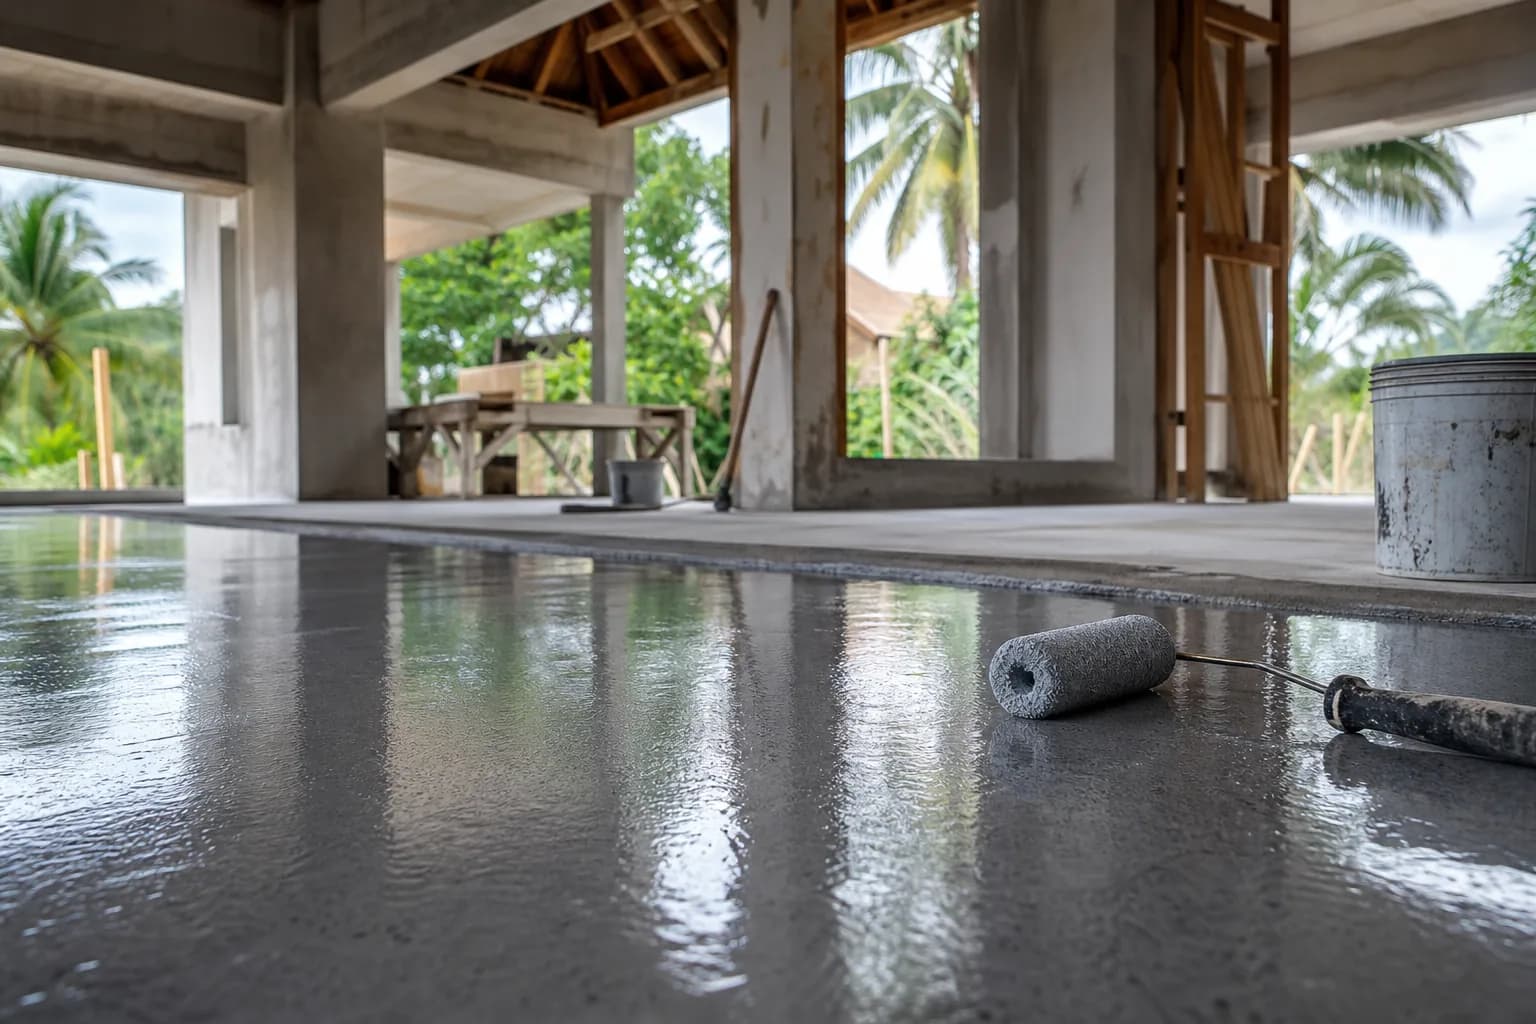
Epoxy Primer Moisture Barrier for Bali Interior Renovations
Explore epoxy primer and moisture barrier solutions for Bali interior renovations, delivering durable adhesion, moisture protection, and long-lasting finishes.
8 min read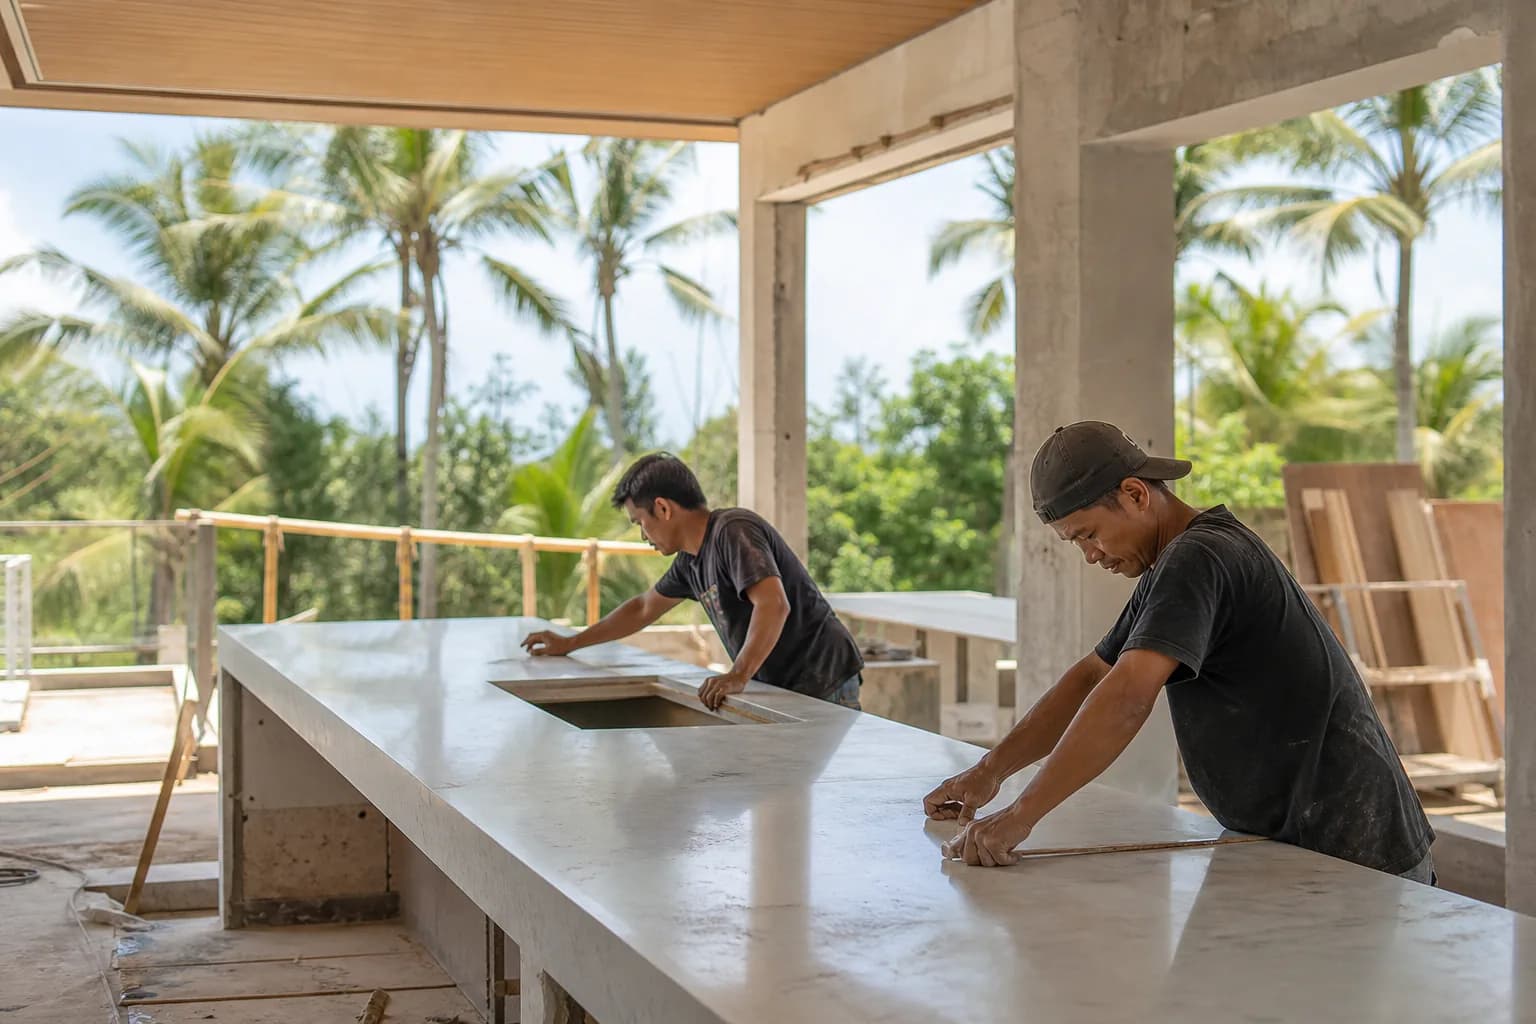
Engineered Stone Countertop Fixing Support Standards Bali
Explore Bali s engineered stone countertop fixing and support standards. Installation tips, durability guidance, and compliance for lasting quality surfaces.
10 min read