Fiber Optic Internet Cable Installation Through Bali Villa Walls

# Fiber Optic Internet Cable Installation Through Bali Villa Walls: A Technical Guide to Professional Installation
The Critical Challenge of Installing Fiber Optic Cables Without Compromising Villa Wall Integrity
Installing fiber optic internet cables through existing Bali villa walls presents a unique technical challenge that demands precision, expertise, and deep understanding of both modern telecommunications infrastructure and tropical construction methods. Unlike standard electrical wiring, fiber optic cables require specific handling protocols, minimum bend radius requirements, and specialized wall penetration techniques that preserve structural integrity while maintaining aesthetic appeal. The question facing villa owners and property managers is how to achieve high-speed internet connectivity without creating unsightly cable runs, compromising waterproofing in Bali’s humid climate, or damaging expensive finishing materials like natural stone, terrazzo, or decorative plaster. This technical process requires careful planning of cable routes, proper selection of penetration points, and professional installation methods that account for Bali’s unique construction characteristics including thick masonry walls, ornate architectural details, and the constant threat of moisture infiltration.
Technical Deep Dive: Understanding Fiber Optic Cable Installation Through Villa Wall Systems
Fiber optic cable installation through Bali villa walls involves fundamentally different technical considerations compared to traditional copper-based networking. The glass or plastic fibers within these cables transmit data as light pulses, making them extremely sensitive to physical stress, sharp bends, and crushing forces. The minimum bend radius for most single-mode fiber cables is approximately 10 times the cable diameter during installation and 20 times during static installation, meaning a 3mm cable requires at least a 30mm radius during pulling operations. This specification directly impacts how cables can be routed through wall cavities, conduits, and penetration points.
Bali villa construction typically features walls ranging from 150mm to 300mm thickness, constructed from red brick, concrete block, or poured concrete with various finishing layers. The installation process must account for multiple wall layers: structural masonry, cement render, waterproofing membranes, and final decorative finishes such as Palimanan stone, terrazzo, or textured plaster. Each layer presents specific challenges for cable penetration. The structural core requires diamond-core drilling to create clean penetrations without causing micro-fractures that could compromise wall strength or create moisture pathways. The waterproofing layer, critical in Bali’s tropical environment with annual rainfall exceeding 1,700mm in some areas, must be carefully cut and then professionally resealed around cable entry points using compatible sealants.
Professional fiber optic installation through villa walls begins with comprehensive site assessment using wall-scanning technology to identify existing utilities, reinforcement bars, and hidden structural elements. This prevents costly mistakes such as drilling through electrical conduits, water pipes, or structural steel that could damage both the villa infrastructure and the expensive fiber optic cable itself. The cable routing plan must consider the location of the external fiber termination point, typically at the property boundary where the internet service provider’s network terminates, and the internal distribution points where routers, switches, and wireless access points will be located.
The actual wall penetration process for fiber optic cables requires specialized diamond-core drill bits ranging from 20mm to 40mm diameter, depending on whether single cables or multiple cables within protective conduit will pass through. These drill bits operate at controlled speeds with water cooling to prevent heat damage to surrounding materials and to capture dust, which is particularly important when working with expensive interior finishes. The drilling angle must be carefully calculated to ensure the cable entry point aligns with both external and internal cable routing requirements while maintaining adequate clearance from structural elements. In multi-story villas, vertical cable runs often utilize existing service shafts or require new chases to be cut into walls, which then must be properly sealed and refinished to match surrounding surfaces.
Once penetrations are created, protective conduit installation becomes critical. High-density polyethylene (HDPE) conduit or PVC conduit with smooth internal surfaces protects the fiber cable from physical damage, allows for future cable replacement without additional wall penetration, and provides a sealed pathway that prevents moisture, insects, and rodents from entering wall cavities. The conduit must be secured within the wall penetration using non-shrinking grout or expanding foam specifically formulated for tropical climates, ensuring no gaps exist that could allow water infiltration during Bali’s intense monsoon periods. External conduit ends require weatherproof sealing and UV-resistant materials to withstand Bali’s intense tropical sun exposure.
Materials and Standards for Professional Fiber Optic Wall Installation
Selecting appropriate materials for fiber optic cable installation through Bali villa walls requires understanding both international telecommunications standards and local tropical climate requirements. The fiber optic cable itself should meet ITU-T G.652.D specifications for single-mode fiber, which provides the bandwidth capacity and signal integrity required for modern high-speed internet applications. For villa installations, armored fiber optic cables with additional protective layers are recommended, particularly for sections exposed to potential physical damage or rodent activity common in tropical environments.
Wall penetration materials must include diamond-core drill bits specifically designed for masonry and concrete, available in sizes from 20mm to 50mm depending on installation requirements. These professional-grade bits feature laser-welded diamond segments that maintain cutting efficiency through dense tropical hardwoods, natural stone finishes, and reinforced concrete common in quality Bali villa construction. Water-cooling systems or wet-drilling methods are essential to prevent thermal damage to both the drill bit and surrounding wall materials, particularly when working with heat-sensitive finishes like certain natural stones or decorative plasters.
Conduit materials should include UV-stabilized HDPE or Schedule 40 PVC conduit with smooth internal walls to prevent fiber cable damage during installation and future maintenance. Conduit sizing must follow the industry standard of maintaining a 60% maximum fill ratio, meaning a 25mm conduit should accommodate no more than 15mm of cable diameter to allow easy pulling and prevent excessive stress on the fiber. Sealing materials require careful selection: polyurethane-based sealants provide excellent adhesion to diverse substrates and maintain flexibility in Bali’s temperature variations, while fire-rated intumescent sealants may be required for penetrations through fire-rated walls in commercial villa properties.
Professional installations require specialized tools including fiber optic cable pullers with tension monitoring to prevent exceeding the cable’s maximum pulling tension (typically 600N for standard cables), cable lubricants specifically formulated for fiber optics that don’t degrade cable jackets, and termination equipment for creating professional connections at distribution points. Testing equipment such as optical time-domain reflectometers (OTDR) verify installation quality by measuring signal loss, identifying splice points, and detecting potential cable damage that could affect long-term performance.
Step-by-Step Professional Installation Process
Phase 1: Site Assessment and Planning (1-2 days)
The installation process begins with comprehensive site documentation, including detailed measurements of cable routing distances, identification of all wall penetration points, and assessment of existing villa infrastructure. Professional installers use electronic wall scanners to map hidden utilities, structural reinforcement, and potential obstacles within walls. This phase includes coordination with the internet service provider to confirm the external fiber termination point location and specifications. A detailed installation plan is created showing cable routes, penetration points, conduit specifications, and finishing restoration requirements. For complex villa layouts or heritage properties with special architectural features, this planning phase may extend to include structural engineer consultation to ensure wall penetrations don’t compromise building integrity.
Phase 2: Wall Penetration and Conduit Installation (2-4 days)
Wall penetration begins with precise marking of drilling locations using laser levels to ensure alignment between internal and external cable entry points. Diamond-core drilling proceeds with continuous water cooling, with the installer monitoring drill pressure to prevent sudden breakthrough that could damage interior finishes. Each penetration is inspected for clean edges and proper diameter before conduit installation. HDPE or PVC conduit is cut to exact length, accounting for wall thickness plus additional length for proper sealing. Conduit is inserted into penetrations and secured using non-shrinking grout or expanding foam, with careful attention to maintaining conduit alignment and preventing gaps that could allow moisture infiltration. External conduit ends are fitted with weatherproof boots or sealed entry points, while internal ends receive protective bushings to prevent cable jacket damage during pulling operations.
Phase 3: Cable Installation and Routing (1-2 days)
Fiber optic cable installation requires specialized pulling techniques to prevent exceeding minimum bend radius or maximum pulling tension specifications. Professional installers use cable lubricant on the fiber jacket and within conduits to reduce friction during pulling operations. Pull strings or fish tape are first routed through conduits, then attached to the fiber cable using proper pulling grips that distribute tension across the cable jacket rather than stressing the internal fibers. Cable is pulled slowly and steadily, with tension monitoring equipment ensuring forces remain within manufacturer specifications. At each bend or direction change, installers ensure the cable maintains proper bend radius using specialized guides or supports. Excess cable length is provided at termination points to allow for future modifications or repairs, typically 1-2 meters of service loop coiled and secured within junction boxes or behind access panels.
Phase 4: Termination and Testing (1 day)
Cable termination involves precision splicing or connector installation at distribution points where fiber connects to network equipment. Professional fusion splicing creates permanent, low-loss connections between cable segments or to pre-terminated pigtails that connect to routers and switches. Each splice is protected within splice trays housed in weatherproof enclosures for external locations or wall-mounted junction boxes for internal distribution points. After termination, comprehensive testing using OTDR equipment verifies signal integrity, measures insertion loss at each connection point, and documents the complete fiber path for future reference. Testing results should show insertion loss below 0.5dB per connection and overall link loss within specifications for the installed distance and number of connections.
Phase 5: Wall Restoration and Finishing (2-3 days)
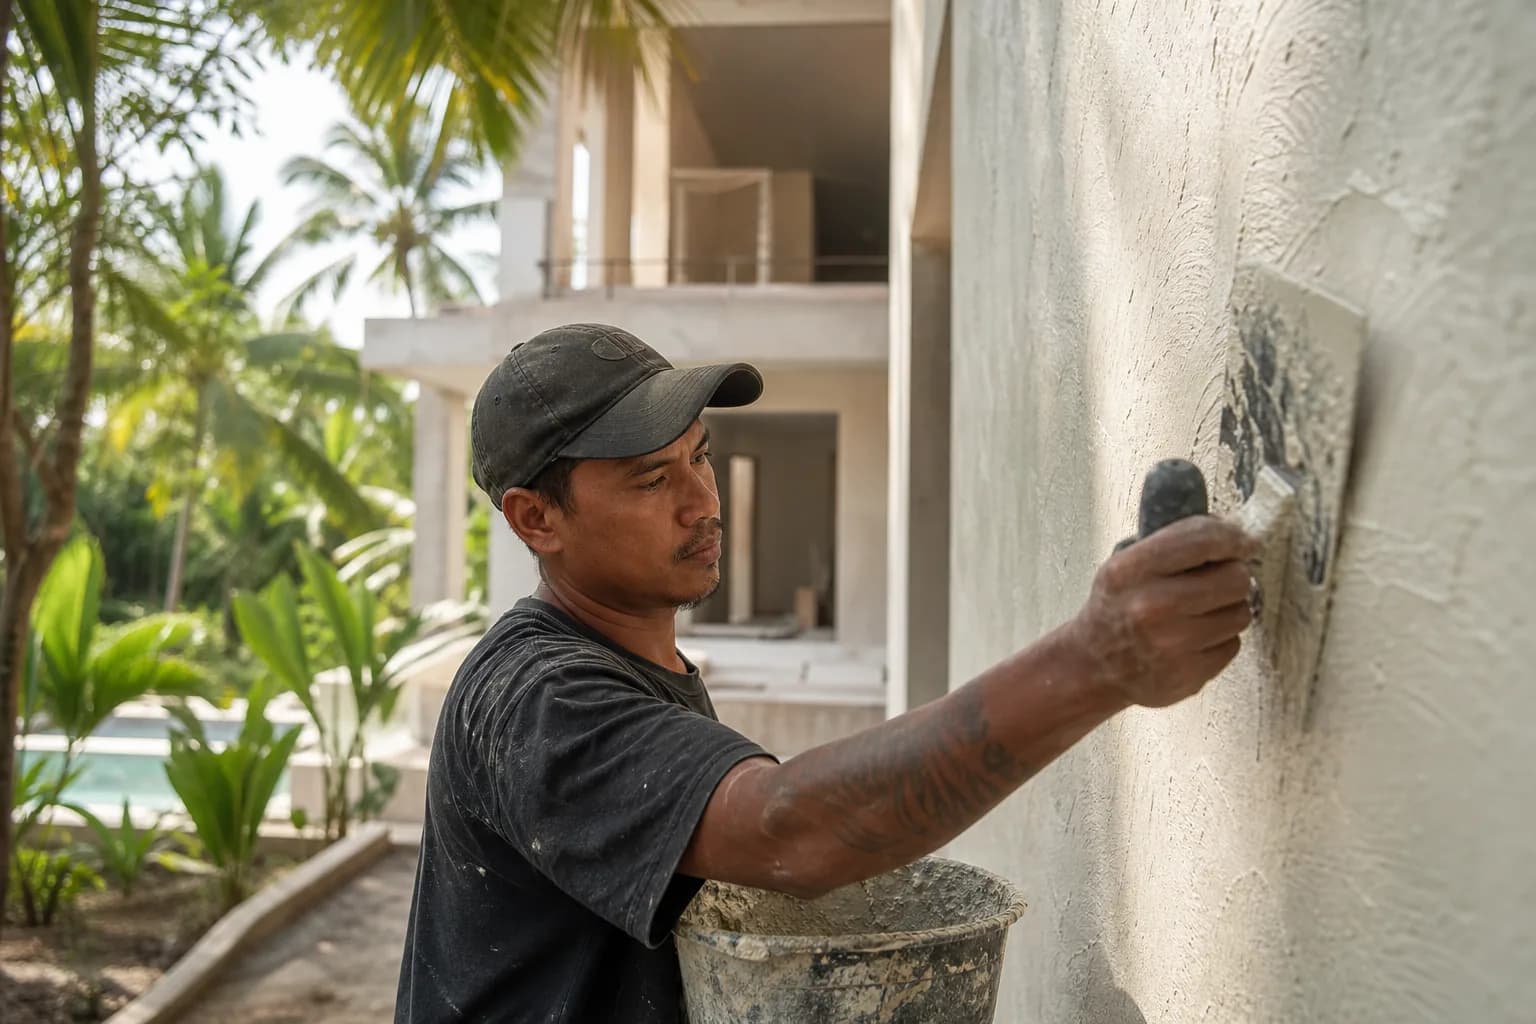
The final phase involves professional restoration of all wall penetrations and affected finishes to match existing villa aesthetics. Conduit entry points are sealed with color-matched grout or sealant, with excess material carefully removed before curing. If wall finishes were damaged during installation, professional plasterers or stone masons restore surfaces using matching materials and techniques. For painted walls, touch-up painting extends beyond the immediate repair area with feathered edges to ensure invisible repairs. Natural stone or terrazzo finishes may require specialized restoration techniques including grinding, polishing, and sealing to match surrounding surfaces. All work is inspected to ensure waterproofing integrity is maintained and aesthetic quality meets the standards expected in luxury Bali villa construction, as demonstrated in Teville’s portfolio of completed projects.
Cost Considerations and Installation Timeline
Professional fiber optic cable installation through Bali villa walls involves several cost components that vary based on installation complexity, villa size, and finish quality requirements. Material costs for quality fiber optic cable range from IDR 15,000 to IDR 35,000 per meter for armored single-mode cable suitable for villa installations. Conduit materials add IDR 8,000 to IDR 15,000 per meter depending on diameter and specification. Wall penetration costs depend on wall thickness and material composition, typically ranging from IDR 500,000 to IDR 1,200,000 per penetration point including diamond-core drilling, conduit installation, and basic sealing.
Professional installation labor represents the largest cost component, reflecting the specialized skills required for fiber optic handling and the precision needed to maintain villa finishing quality. Complete installation services for a typical single-story villa with 2-3 wall penetrations and 50-100 meters of cable routing range from IDR 15,000,000 to IDR 35,000,000, including materials, labor, testing, and basic wall restoration. Larger multi-story villas or properties requiring extensive cable routing, multiple distribution points, or restoration of premium finishes like natural stone or decorative plaster may require budgets of IDR 40,000,000 to IDR 75,000,000 or more.
Installation timeline for professional fiber optic cable installation through villa walls typically spans 5-10 working days from initial site assessment to final testing and wall restoration. Simple installations with direct cable routes and minimal wall penetrations may be completed in 5-7 days, while complex projects involving multiple floors, numerous distribution points, or challenging architectural features may require 10
 172 m²8 month(s)from 120.000 USD
Keshava
 3124 m²6 month(s)from 123.000 USD
TALA 8
 3180 m²7 month(s)from 142.000 USD
Vasudeva
 3127 m²9 month(s)from 177.000 USD
Mukunda

Want to calculate?
 164 m²7 month(s)from 79.000 USD
TALA TWO
 3173 m²6 month(s)from 125.000 USD
TALA FOUR
 4344 m²16 month(s)from 290.000 USD
Radha
 1from 198.000 USD
Private: Haridas Villas
164 m²7 month(s)from 79.000 USDPrivate: Haridas Villas, Tegallalang
 3104 m²11 month(s)from 99.000 USD
TALA 100
 2144 m²11 month(s)from 104.000 USD
Narayana
Start With Real Numbers, Not Guesses
Before finalizing your finishing works plan, check realistic cost ranges for your Bali villa project.
Available lands
 5000 m²8 min$ 424877Bali, Ungasan
 3000 m²15 min$ 738916Bali, Cepaka
 260 m²5 min$ 51872Bali, Kedungu
 550 m²5 min$ 217629Bali, Tabanan
 1950 m²7 min$ 150092Bali, Tabanan
 608 m²15 min$ 310377Bali, Seminyak
 928 m²15 min$ 910123Bali, Pererenan
 7250 m²56 min$ 235714Bali, Tabanan
 8313 m²15 min$ 716670Bali, Buduk
 444 m²10 min$ 111000Bali, Tabanan
 700 m²15 min$ 109052Bali, Buduk
 1362 m²15 min$ 335468Bali, Tumbak
 3254 m²5 min$ 631800Bali, All
 550 m²15 min$ 164594Bali, Mengwi
 2700 m²30 min$ 314224Bali, Sidemen
Planning a build in Bali?
Get a feasibility view, budget range and timeline from Teville.
Related guides
Resin-Infused Plaster Finishes: Anti-Salt Systems Bali
Expert technical guide: Resin-Infused Plaster Finishes: Anti-Salt Systems Bali
8 min read
Prefinished Timber Joinery: Silicone Seals Fixings Bali
Professional prefinished timber joinery installation in Bali with silicone seals and fixings for durable weatherproof performance and a premium finish.
10 min read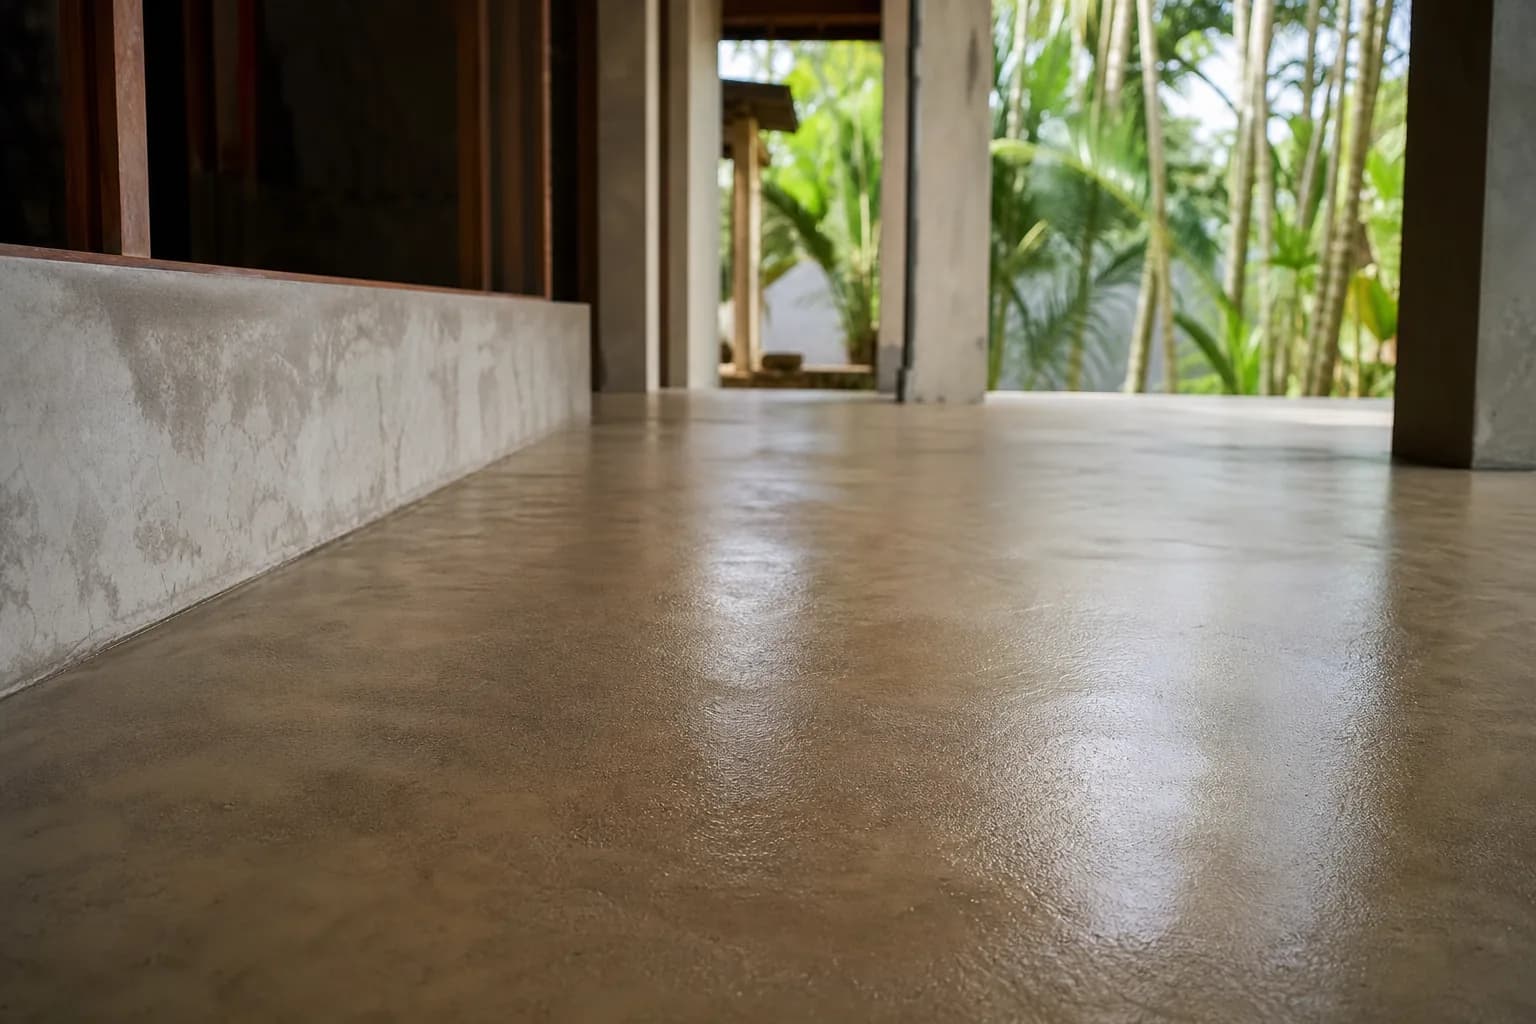
Polished Concrete Microtopping: Surface Prep Sealants Bali
Discover Bali s polished concrete microtopping: expert surface prep, durable sealants, and a flawless finish for modern floors with minimal maintenance.
9 min read