Cement Render Finishes: Lime-Modified Plaster in Bali, Indonesia
Cement Render Finishes: Lime-Modified Plaster Application in Bali
1) Specific Problem/Question
In Bali’s tropical climate—high humidity, salt-laden coastal air, intense UV, and monsoon rain—standard cement renders can trap moisture, craze, or delaminate, especially during renovation when substrates vary. How do we achieve a durable, breathable, high-quality finish that resists mold, accommodates thermal movement, and remains elegant for Bali villa construction and interior finishing Bali? This Bali area guide explains Teville’s lime-modified cement render approach: what to specify, how we install, and how we coordinate with villa utilities and furniture installation to deliver long-lasting finishing works.
2) Technical Deep Dive: Why Lime-Modified Cement Renders Work in Bali
Moisture dynamics. In humid, monsoon-prone regions like Bali, walls absorb and release moisture daily. A dense cement-only render can become a vapor barrier, forcing moisture to move through microcracks and junctions, accelerating blistering, efflorescence, and fungal growth. By incorporating hydrated or natural hydraulic lime into the render matrix, we increase porosity and vapor permeability (μ decreases), allowing walls to “breathe” while maintaining necessary cohesion. This mitigates interstitial condensation and improves indoor air quality.
Flexibility and crack control. Lime introduces micro-elasticity and autogenous healing (free lime can re-carbonate to close hairline cracks). This is valuable on hollow brick, AAC block, and mixed substrates encountered in renovation Bali projects. When combined with correct sand grading and fiberglass mesh at stress points, lime-modified renders reduce shrinkage and craze cracking compared to pure cement plasters.
Salt and alkalinity. Bali’s coastal air carries chlorides; wind-driven rain can introduce salts into the surface. Lime’s alkalinity discourages biological growth and buffers salt action. While no render is “salt-proof,” a lime-modified matrix with properly selected aggregates, breathable water repellents, and drip details significantly extends finish life.
Breathable finishing systems. The system performance depends on all layers. We favor mineral finishes—limewash, mineral silicate paints, or thin lime finishing coats—over acrylic skins. These retain vapor permeability and reduce the risk of trapped moisture. When a more polished aesthetic is desired, a thin, lime-rich finish (e.g., lime putty with marble powder) can be applied over the lime-modified base to achieve textures ranging from light sponge to satin burnish inspired by Venetian techniques (see overview on Meoded Paint).
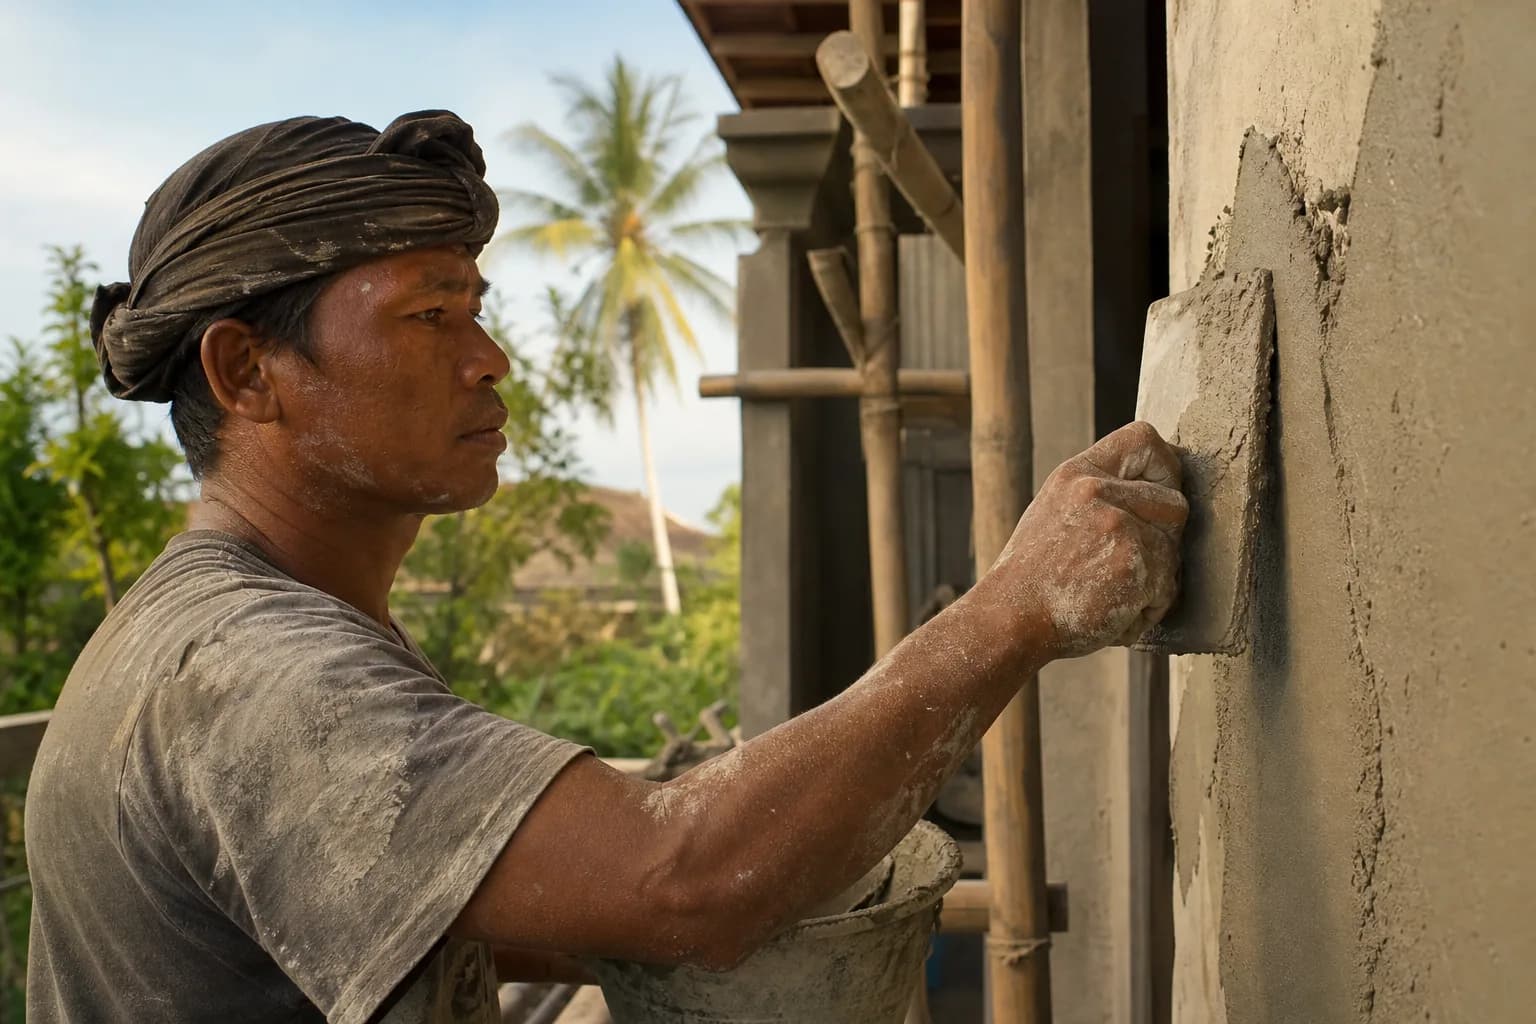
Layering strategy. We design a three-coat build-up appropriate to Bali:
- Bond/scratch coat: cement + lime with coarse sand, keyed at 45° for mechanical interlock. Thickness 8–12 mm.
- Brown/leveling coat: similar binder with finer sand, adjusted for flatness. Thickness 6–10 mm.
- Finish coat: lime-rich, low-cement or pure lime microfinish 2–3 mm for texture control and breathability.
Substrate compatibility for renovation. Many Bali homes have mixed backgrounds—cast-in-place concrete frames with infill brick and older acrylic skim coats. Our protocol includes adhesion testing and, where needed, removal of impermeable coatings. On stable, painted substrates that must remain, we use a breathable mineral bonding bridge and reinforce with alkali-resistant mesh to manage different expansion coefficients.
Environmental and maintenance profile. Lime-modified renders cure through hydration and carbonation, locking CO₂ into the matrix. While not a carbon-negative solution, they trend lower in embodied energy than thick polymer layers and align with the shift toward natural finishes in 2026. Maintenance is predictable: occasional washing, localized crack stitching, and recoat of limewash or mineral paint every 5–8 years in exposed coastal zones.
Applicability in wet rooms. In bathrooms and kitchens, we pair lime-modified renders with proper waterproofing behind the render (showers) and specify vapor-open finishes outside the wet zones. Lime’s alkalinity lowers mold risk in splash-prone yet non-immersed areas, but it should not replace membranes in showers.
Craft control. Achieving uniform, high-quality planes for luxury Bali interiors demands tight tolerances. We work to ≤3 mm deviation over a 2 m straightedge for feature walls, enabling precise furniture installation and millwork fits. Key details include reinforced arrises, aligned control joints, and level datum screeds that interface cleanly with cabinetry, door frames, and electrical backboxes.
Training and references. Techniques evolve—as seen in recent best-practice videos demonstrating lime render mixing, wet-edge control, and curing (YouTube tutorial, 2025). Teville’s foremen train crews on site mockups and maintain method statements aligned with international standards and local SNI practices.
For built examples and how this integrates with our full-cycle delivery, see Portfolio and Villa Projects.
3) Materials & Standards
Binders:
- Portland cement (low-alkali, Type I/II) meeting recognized standards; sulfate-resistant options near coastlines or in damp ground conditions.
- Hydrated lime (Type S) or natural hydraulic lime (NHL 2–3.5). In Bali, we most often use hydrated lime for plasticity and permeability; NHL is considered for exterior exposure where faster set is beneficial.
Aggregates:
- Clean, washed sand. Base coats: 0–2.5 mm grading; finish coats: 0–1.2 mm. Cubical particles promote workability and reduce water demand.
Admixtures:
- Alkali-resistant fiberglass mesh (160 g/m²) at stress zones and across dissimilar substrates.
- Polypropylene microfibers (3–6 mm) where shrinkage control is critical.
- SBR/latex used selectively as a bonding slurry on dense concrete; we balance with breathability goals.
- Breathable silane/siloxane water repellent topcoat for exteriors as needed.
Typical mix ratios (by volume):
- Scratch: 1 cement : 1 lime : 4.5 sand (0–2.5 mm).
- Brown: 1 cement : 1.5 lime : 5 sand (0–2 mm).
- Finish: 0–0.5 cement : 2–3 lime : 6–7 sand or lime putty + marble powder blend for finer textures.
Standards and guidance (project specs reference international equivalents alongside local SNI):
- ASTM C926 – Application of Portland Cement–Based Plaster.
- EN 998-1 – Rendering and plastering mortars.
- EN 459-1 – Building lime.
- ASTM C144 – Aggregates for masonry mortar (grading guidance for plaster sands).
- ASTM C1583 – Pull-off strength test for surface prep verification.
Compatibility with finishes:
- Mineral silicate paint and limewash maintain vapor permeability.
- Acrylic/elastomeric paints are avoided except on isolated details with movement concerns.
- Polished lime microfinishes may be sealed with breathable soap/wax systems for interiors; avoid non-breathable sealers outdoors.
Hardware and details:
- UV-stable PVC or stainless steel corner beads and drip edges for exteriors.
- Weep screeds at base of exterior walls above paving to shed moisture.
- Backbox extenders to achieve flush outlets and switches after final coat—critical for villa utilities coordination.
4) Step-by-Step Process (Teville Method)
Step 1: Survey and coordination
– Record substrate types, moisture levels, and salt exposure; perform adhesion tests and map cracks. Align control joints with structural breaks.
– Coordinate chases for electrical, plumbing, AC linesets, and smart-home conduits. Utilities are installed and pressure-tested before plastering, with backboxes set to datum planes.
Step 2: Protection and mockup
– Protect floors, timber frames, and built-ins. For renovation Bali, remove loose paint/renders and roughen dense concrete. Build a 1–2 m² mockup showing agreed texture, color, and paint/sealer system for client sign-off (see Construction Process).
Step 3: Substrate preparation
– Clean dust and salts; pre-wet porous masonry to saturated surface dry (SSD). On dense concrete, apply a slurry of 1 cement : 1 sand : SBR per manufacturer’s rate, broomed for keying, maintaining vapor considerations.
Step 4: Corner beads, screeds, and mesh
– Install beads at external corners and drip edges at soffits/thresholds. Set plumb/level screed rails at 1.5–2.0 m spacing to control flatness. Embed fiberglass mesh across junctions (masonry-to-concrete, around openings) with 100 mm laps.
Step 5: Scratch coat
– Mix per design; rest mix 5–10 minutes after initial wetting to allow lime to fully hydrate, then remix. Apply 8–12 mm with trowel or spray. Scratch diagonally 3–5 mm depth. Protect from sun and wind; mist cure lightly for 48–72 hours, shielding from rain splash.
Step 6: Brown/leveling coat
– After sufficient set (typically 2–4 days in Bali), apply 6–10 mm, rod with a straightedge to plane, then wood-float to close. Install control joints using stop beads where spans exceed 6 m or at substrate breaks. Extend curing for 3–5 days, maintaining dampness without saturation.
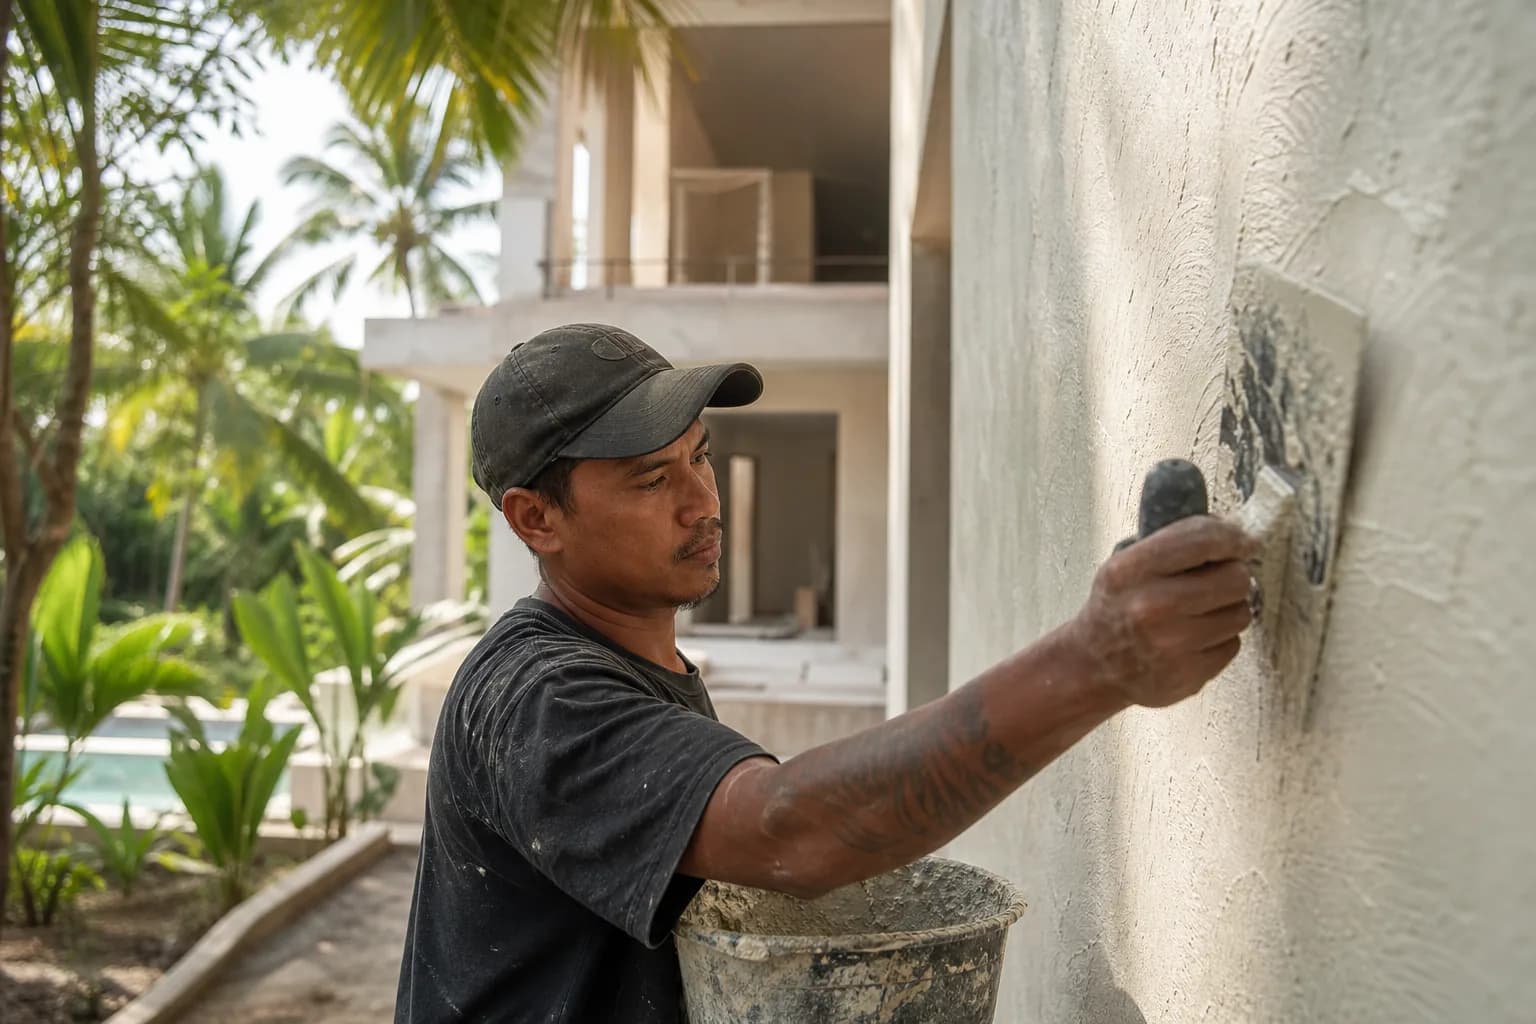
Step 7: Finish coat
– For a classic floated texture, apply 2–3 mm lime-rich finish, tight trowel, and sponge-float lightly to open the face. For refined interiors, use lime putty + marble powder; multiple tight passes deliver a satin sheen, staying within breathability limits. Maintain a wet edge to prevent lap marks (see technique demonstrations in 2025 tutorials like this video).
Step 8: Curing and environmental control
– Shade cloths reduce rapid evaporation; avoid application during driving rain or when surface temperature exceeds ~35°C. Total curing before mineral paints: 7–14 days for base coats; 14–21 days preferred for coastal exteriors. Avoid forced drying.
Step 9: Finishing systems
– Exteriors: apply breathable silane/siloxane water repellent after full cure, or finish with mineral silicate paint. Interiors: limewash or mineral paint; in kitchens, choose scrubbable mineral coatings. Shower enclosures use membrane + tile or microcement; lime finishes remain outside direct splash zones.
Step 10: Interfaces with furniture installation and utilities
– We laser-check wall planes before cabinetry templates. Reveals and shadow gaps (8–12 mm) at wardrobes and kitchens prevent edge chipping. Switch plates and outlets align to finished planes; boxes shimmed during brown coat. Where heavy items (stone vanities, shelving) are planned, we set concealed anchors before finish coats.
Quality control and tolerances
- Flatness: ≤3 mm deviation under 2 m straightedge (feature walls), ≤5 mm typical.
- Adhesion: pull-off tests where needed; assess ≥0.25 MPa for non-structural render, higher near fixtures.
- Moisture: confirm acceptable substrate moisture with a calibrated meter before painting.
- Color/texture: mockup becomes the project control sample.
5) Costs & Timeline
Budget ranges (Bali, 2026, indicative) per square meter, excluding GST and scaffolds for multi-story façades:
- Base lime-modified render (scratch + brown, floated finish): IDR 230,000–320,000/m².
- Premium system (mesh at transitions, lime microfinish, mineral paint): IDR 350,000–520,000/m².
- Complex renovation (removal, substrate repair, saline remediation): add IDR 90,000–180,000/m².
- Breathable water repellent or mineral paint: IDR 80,000–150,000/m².
Values vary with access, height, detailing (drips, beads), texture level, and exposure to coastal winds. Request a project-specific estimate via Teville Cost Estimation.
Typical productivity:
New build, open areas: 60–90 m²/day/ 3173 m²6 month(s)from 125.000 USD
TALA FOUR
 172 m²8 month(s)from 120.000 USD
Keshava
 164 m²7 month(s)from 79.000 USD
TALA TWO
 3127 m²9 month(s)from 177.000 USD
Mukunda
164 m²7 month(s)from 79.000 USDPrivate: Haridas Villas, Tegallalang
 1from 198.000 USD
Private: Haridas Villas
 4344 m²16 month(s)from 290.000 USD
Radha
 3180 m²7 month(s)from 142.000 USD
Vasudeva
 2144 m²11 month(s)from 104.000 USD
Narayana
 3124 m²6 month(s)from 123.000 USD
TALA 8
 3104 m²11 month(s)from 99.000 USD
TALA 100

Want to calculate?
Start With Real Numbers, Not Guesses
Before finalizing your finishing works plan, check realistic cost ranges for your Bali villa project.
Available lands
 2000 m²5 min$ 738916Bali, Ungasan
 585 m²8 min$ 165702Bali, Mengwi
 700 m²8 min$ 165517Bali, Umalas
 1410 m²15 min$ 390702Bali, Tabanan
 2130 m²10 min$ 495776Bali, Pecatu
 4270 m²10 min$ 394397Bali, Ubud
 2000 m²15 min$ 523000Bali, Canggu
 550 m²5 min$ 217629Bali, Tabanan
 1230 m²15 min$ 132543Bali, Tegallalang
 10000 m²19 min$ 232759Bali, Buleleng
 2500 m²5 min$ 609606Bali, Kedungu
 5815 m²5 min$ 815740Bali, Tabanan
 444 m²10 min$ 111000Bali, Tabanan
 7250 m²56 min$ 235714Bali, Tabanan
 29000 m²6 min$ 3857143Bali, Tabanan
Planning a build in Bali?
Get a feasibility view, budget range and timeline from Teville.
Related guides
Resin-Infused Plaster Finishes: Anti-Salt Systems Bali
Expert technical guide: Resin-Infused Plaster Finishes: Anti-Salt Systems Bali
8 min read
Prefinished Timber Joinery: Silicone Seals Fixings Bali
Professional prefinished timber joinery installation in Bali with silicone seals and fixings for durable weatherproof performance and a premium finish.
10 min read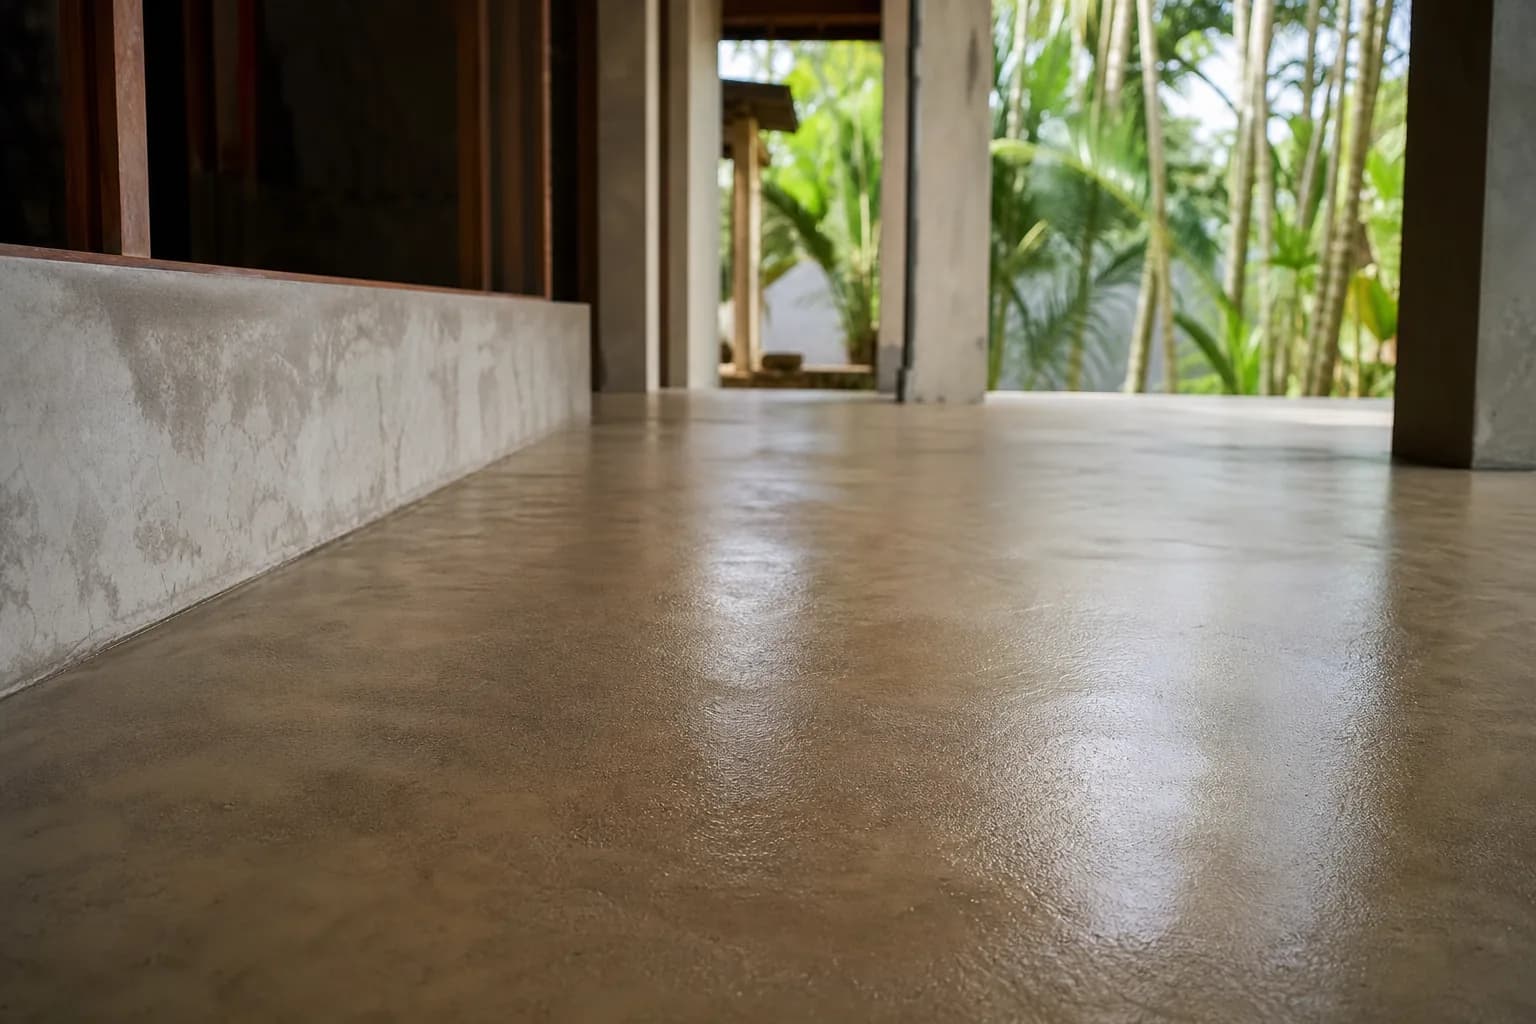
Polished Concrete Microtopping: Surface Prep Sealants Bali
Discover Bali s polished concrete microtopping: expert surface prep, durable sealants, and a flawless finish for modern floors with minimal maintenance.
9 min read