Bali Villa Timber Flooring: Acclimation, Glue Nailing Spec
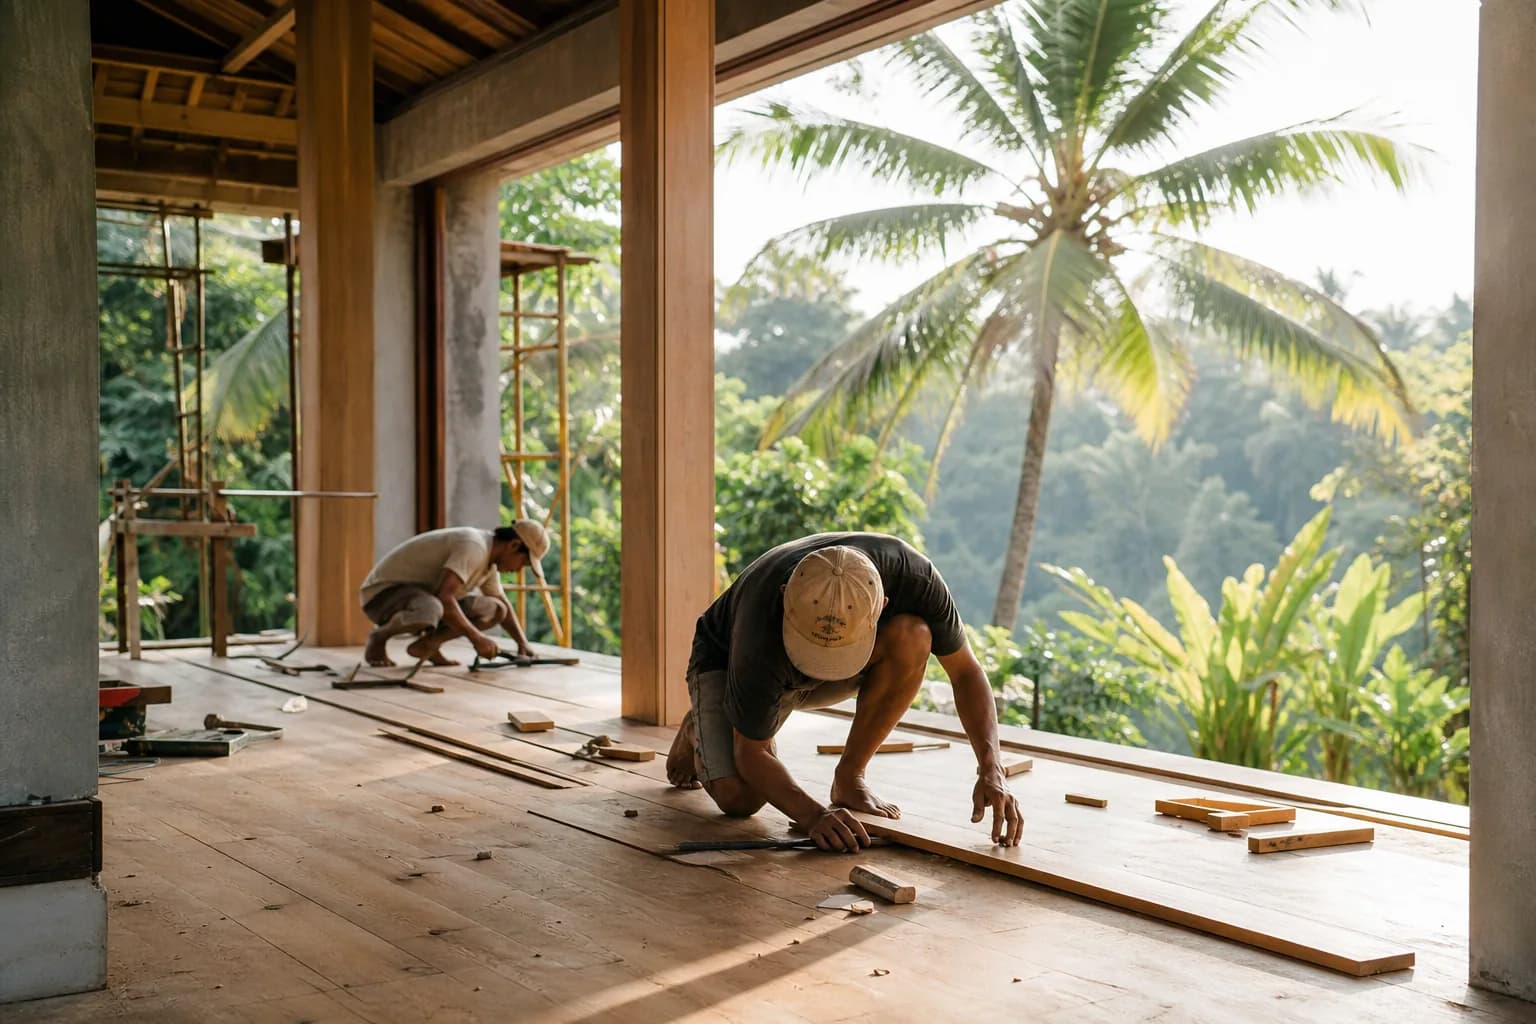
Bali Villa Timber Flooring: Acclimation, Glue & Nailing Spec
1) Specific Problem/Question
Timber flooring behaves differently in Bali’s humid, salt-laden, and temperature-stable tropical climate than it does in temperate markets. Owners often ask: how do we acclimate, glue, and nail wood floors so they don’t cup, crown, gap, or telegraph defects six months after handover? This Bali area guide explains—in technical depth—how Teville (PT. The Haridas Villas) specifies acclimation windows, adhesive classes, and nailing schedules for durable, quiet, and dimensionally stable timber floors in villas, renovations, and high-spec interior finishing in Bali.
2) Technical Deep Dive: What Really Matters in Bali
Climate reality. Bali’s ambient relative humidity (RH) frequently sits at 70–90% outdoors. Interior RH depends on use: sealed, air-conditioned villas typically run 45–60% RH; open-plan tropical villas without 24/7 AC run 60–75% RH. The flooring must be acclimated to the in-service condition that will actually prevail once guests move in and furniture installation is complete.
Acclimation targets. Acclimation is not a fixed number of days; it is moisture equilibrium. As a rule of thumb for Bali:
- Engineered oak (14–15 mm with 3–4 mm wear layer): 6–9% moisture content (MC) for AC-stabilized villas; up to ~10–11% MC for semi-open villas.
- Solid tropical hardwood (18–22 mm): 8–12% MC for AC-stabilized; up to ~13–14% for semi-open use.
How long? Typical acclimation is 3–7 days for engineered and 7–14 days for solids in conditioned interiors. We confirm with pin or pinless moisture meters, targeting:
- Difference floorboard MC to subfloor MC ≤ 2% (wood-to-wood), or adhesive manufacturer’s stated tolerance for concrete.
- Room RH and temperature stabilized to operating setpoints for at least 72 hours.
Subfloor moisture. On concrete slabs, we test internal RH per in-slab probes (ASTM F2170 method) or CM testing. Typical adhesive warranties require ≤ 75–85% in-slab RH or a liquid moisture barrier/epoxy applied if values are higher. On plywood/OSB, MC must typically be 8–12% and uniform.
Engineered vs. solid in Bali. Engineered boards are less reactive and are Teville’s default for beach-adjacent or intermittently conditioned villas. Solid boards remain viable when properly acclimated, glued and nailed over a timber substrate with deliberate movement joints and a vigilant maintenance plan.
Adhesive selection (glue-down and glue-assist). In Bali, we prioritize silane-modified polymer (SMP/MS), polyurethane (PU), or high-performance hybrid adhesives that provide elasticity, robust shear strength, and moisture/vapor control options. Key properties we specify:
- Meets ISO 17178 for wood flooring adhesives.
- Shear strength suitable for species and plank width; elastic modulus designed to allow seasonal movement without debonding.
- Open time 20–40 minutes; working time suitable for Bali temperatures; low VOC to protect interior finishing works.
- Compatible with moisture mitigation primers if slab RH is elevated.
Spread rate and trowel notches. For 14–15 mm engineered oak: typical 850–1,200 g/m² with a B11 or manufacturer-recommended trowel. For 18–22 mm solid over plywood: 1,000–1,500 g/m². We monitor ridges to avoid skinning in warm rooms; adhesive ridges must remain combed and “wet” when boards are bedded. Roll with a 45–68 kg flooring roller within 30 minutes to ensure transfer.
Nailing and glue-assist (over wood subfloors). For plywood/wood subfloors, we use a glue-assist method: full trowel spread adhesive plus mechanical fasteners to stabilize while curing and to reduce hollow spots.
- Engineered 14–15 mm: 16-gauge L-cleats or flooring staples, length 38–40 mm, fastener spacing 150–200 mm on center, 25–50 mm from board ends, 45° through the tongue.
- Solid 18–22 mm: 16-gauge L-cleats, length 50 mm, spacing 100–150 mm on center, 50 mm from ends.
- Do not nail to concrete. Over slabs, either direct stick (full-spread adhesive) or install treated timber battens/plywood first.
Batten/sleeper systems on slabs. Where clients prefer the feel of a nailed floor on concrete, Teville installs a moisture-mitigated slab, then polyethylene vapor barrier or epoxy, pressure-treated termite-resistant battens 45×45 mm at 300–400 mm centers, shimmed and laser-leveled, topped with 18 mm exterior-grade plywood screwed at 150 mm perimeter/200 mm field. Perimeter and intermediate movement joints are detailed to allow expansion.
Expansion and movement joints. Bali’s humidity swings demand deliberate gaps:
- Perimeter gap 10–15 mm or 1.5 mm per linear meter of width (greater value governs), concealed with skirtings.
- Breaks at doorways and transitions; soft joints near large glazed openings and wet-area thresholds.
- Leave 5–10 mm around service penetrations and villa utilities covers.
Board width and species. Wider boards move more. Over 180–190 mm width, we increase glue coverage, tighten nailing centers, and favor engineered construction. Tropical species with high density (e.g., teak, merbau) need high-shear adhesives and sharper fasteners; predrill end nails if splitting risk is present.
Finishing interfaces. Coordinate with painters, joinery, and furniture installation. Heavy wardrobes or stone-topped kitchen islands must sit on subfloor with scribed plinths, or be placed before floating floors to avoid pinch points. For direct-stick systems, we allow adhesive cure before rolling in heavy loads.
Acoustic and underlays. For floating engineered systems in apartments or upper floors, use a 2–3 mm closed-cell acoustic underlay rated to local by-laws. In villas, direct stick yields better footfall quality and reduced drumming in high-ceiling rooms.
Maintenance reality. Stabilize RH with scheduled AC or dehumidifiers during off-occupancy. Fit felt pads to furniture, control solar gain near sliding doors, and avoid wet mopping. Seasonal hairline gaps are normal if the villa is alternately shut down and heavily cooled; movement joints manage this gracefully.
3) Materials & Standards
Flooring products.
- Engineered European oak 14/3 or 15/4 mm, micro-bevel, UV-oiled or matt lacquer prefinish, tongue-and-groove or click.
- Solid tropical hardwood 18–22 mm, kiln-dried to target MC for Bali, T&G profile.
Subfloors.
- Concrete: flatness within 3 mm over 2 m straightedge; compressive strength ≥ 20 MPa; internal RH per adhesive spec (often ≤ 75–85%). Self-leveling compound where needed; epoxy moisture barrier if RH high.
- Plywood: 18 mm exterior-grade (WBP), screwed and glued to battens; MC 8–12%.
Adhesives and primers.
- Wood flooring adhesives conforming to ISO 17178 (SMP/PU). If moisture mitigation required, use compatible epoxy or 2K urethane primer with published slab RH limits.
- Low-VOC preference to protect interior finishing Bali projects during renovation.
Fasteners and tools.
- 16-gauge L-cleats 38–50 mm; 18-gauge brads only for trims (not structural fixing of boards).
- Pneumatic flooring nailer/stapler, 45–68 kg roller, calibrated pin/pinless moisture meter, hygrometer, laser level.
Referenced practices. We align to internationally recognized guidance: ASTM F2170 (in-slab RH testing), ASTM F710 (concrete prep), ISO 17178 (adhesives), and good practice from BS 8201/AS 1884 for timber and resilient flooring where applicable to Bali conditions. Where Indonesian SNI standards apply to substrates and coatings, we incorporate them in project specs.
Explore our finishing quality benchmarks in Teville’s portfolio and the way we structure control gates in our construction process.
4) Step-by-Step Process (Teville Specification)
Step 1: Use-profile and climate brief. Confirm if spaces are AC-stabilized, semi-open, or mixed-use. Agree interior RH/temperature setpoints and operating schedules (especially off-season). This drives MC targets and expansion detailing.
Step 2: Subfloor survey and testing. Map flatness, cracks, and deflection. For slabs, drill and install RH probes; for timber substrates, meter MC in a grid. Mark areas needing self-leveling compound, repairs, or moisture mitigation.
Step 3: Moisture mitigation and leveling. Grind, vacuum, prime, and apply epoxy moisture barrier if in-slab RH exceeds adhesive tolerances. Install self-leveler to achieve ≤ 3 mm deviation over 2 m. Cure per manufacturer times before proceeding.
Step 4: Deliver and stage materials. Bring timber, adhesives, primers, and ancillaries into conditioned space. Stack boards flat, stickered if site-finished, with airflow around packs. Protect from direct sun and wet trades.
Step 5: Stabilize environment. Run AC/dehumidification to in-service setpoints for at least 72 hours. Record RH/temperature twice daily. Delay acclimation count if readings deviate.
Step 6: Acclimation and MC checks. Open cartons for engineered flooring; break bundle strapping for solids. After 3–14 days (product-dependent), verify MC: within targets and within 2% of wood subfloor, or per adhesive allowances for concrete. Log readings in QA sheets.
Step 7: Layout and movement strategy. Snap control lines, balance border cuts, and pre-plan movement joints at long runs, door thresholds, and near large glazing. Confirm 10–15 mm perimeter gap behind skirtings and at villa utilities covers.
Step 8: Primer/adhesive preparation. Confirm compatibility. Select trowel notch per product data. Stage adhesive in room to avoid viscosity spikes from heat. Mask stone or joinery interfaces to protect finishes.
Step 9A: Direct stick to concrete (engineered preferred). Trowel full-spread adhesive within workable areas. Lay boards into fresh ridges, shuffling from multiple cartons. Tap gently with tapping block. Roll within 30 minutes. Maintain straightness to control line. Clean squeeze-out immediately.
Step 9B: Glue-assist over plywood/OSB (engineered or solid). Full trowel spread plus 16-gauge cleats (38–50 mm) at prescribed spacing. Maintain 45° fastener angle through tongue, avoid end-grain splitting, and close board ends tight. Check for hollow spots; re-lift and re-bed if found while adhesive open.
Step 9C: Batten system on slab with plywood overlay. Install treated battens at 300–400 mm centers over moisture barrier; laser-level and anchor. Fix 18 mm plywood with adhesive and screws. Glue-assist and nail boards as per 9B.
Step 10: Termite and edge detailing. Integrate termite-resistant battens/plywood and maintain inspection lines. At wet thresholds, introduce sealant-backed joints. Around kitchens and heavy furniture, incorporate slip-sheets or scribed plinths to avoid point loads that “lock” the floor.
Step 11: Curing and protection. Respect adhesive cure (light foot traffic 12–24 hours; full cure 24–72 hours). Install protective floor kraft and breathable covers before other trades and furniture installation. Avoid plastic films that trap condensation.
Step 12: Finishing touches. For prefinished boards, fit skirtings and trims with 18-gauge brads and adhesive. For site-finished floors, sand (if specified), coat with UV-oil or lacquer suited to Bali humidity, and allow full cure before soft furnishings.
Step 13: Handover and maintenance brief. Provide MC/RH logs, adhesive batch numbers, and cleaning kits. Instruct housekeeping: dry-mop, lightly damp with pH-neutral cleaner, maintain AC schedules to avoid humidity spikes.
See how we sequence these controls in our villas in the project catalog.
5) Costs & Timeline (Indicative, Bali Market)
Supply (per m², IDR):
- Engineered oak 14/3–15/4 mm: IDR 900,000–1,800,000+
- Solid tropical hardwood 18–22 mm: IDR 1,200,000–2,500,000+
Installation (per m², IDR):
 164 m²7 month(s)from 79.000 USD
TALA TWO
 3173 m²6 month(s)from 125.000 USD
TALA FOUR
 3104 m²11 month(s)from 99.000 USD
TALA 100
164 m²7 month(s)from 79.000 USDPrivate: Haridas Villas, Tegallalang
 3124 m²6 month(s)from 123.000 USD
TALA 8
 1from 198.000 USD
Private: Haridas Villas

Want to calculate?
 3180 m²7 month(s)from 142.000 USD
Vasudeva
 4344 m²16 month(s)from 290.000 USD
Radha
 3127 m²9 month(s)from 177.000 USD
Mukunda
 2144 m²11 month(s)from 104.000 USD
Narayana
 172 m²8 month(s)from 120.000 USD
Keshava
Start With Real Numbers, Not Guesses
Before finalizing your finishing works plan, check realistic cost ranges for your Bali villa project.
Available lands
 550 m²15 min$ 164594Bali, Mengwi
 400 m²15 min$ 67192Bali, Tabanan
 2500 m²5 min$ 609606Bali, Kedungu
 515 m²7 min$ 570813Bali, Canggu
 660 m²10 min$ 175567Bali, Mengwi
 700 m²8 min$ 165517Bali, Umalas
 600 m²12 min$ 101970Bali, Mengwi
 13000 m²1 min$ 920567Bali, Pekutatan
 1600 m²32 min$ 266010Bali, Tabanan
 1533 m²5 min$ 165666Bali, Cepaka
 1350 m²5 min$ 283467Bali, Pecatu
 500 m²10 min$ 107143Bali, Tabanan
 800 m²8 min$ 113300Bali, Ungasan
 1375 m²10 min$ 447044Bali, Canggu
 700 m²15 min$ 162500Bali, Tabanan
Essential Bali build & buy guides
- Bali villa construction cost per m² in 2026
- How much will your villa cost? Calculator
- Building a villa in Bali: the complete guide
- Buying land in Bali: step-by-step for foreigners
- Bali villa investment: yields, risks, returns
- Leasehold vs freehold: what foreigners can own
- Construction defect liability & 10-year warranty
- Bali building codes and construction standards
Related guides
Sanur and Nusa Dua vs Canggu: Stability Plays vs Hype
Canggu gets the headlines; Sanur and Nusa Dua quietly deliver steadier returns to a different kind of buyer. An honest 2026 comparison of the stability markets against the hype market — prices, demand drivers, oversupply risk, and who should buy where.
7 min read
Ubud and the Wellness Market: Buying or Building for Retreats
Ubud is Bali's wellness capital, and retreat-focused property behaves differently from beach villas: longer stays, group bookings, lower volatility. Here is what the market rewards, what zoning allows, and what it costs to buy or build a retreat property in 2026.
8 min read
Buying and Building on the Bukit: Uluwatu, Bingin and Balangan from a Buyer's Seat
A buyer's-seat 2026 guide to the Bukit peninsula — Uluwatu, Bingin and Balangan land prices, the water problem nobody budgets, cliff setbacks after the 2025 Bingin demolitions, and how to build there properly.
7 min read